The Documentation Jenkins

Jenkins?
Jenkins는 아무래도 많이 사용하는 CI/CD 일것이다. 우선 컨테이너 환경에서 CI를 구성하기 위해서 Jenkins를 구성 하였고, 클러스터가 많은 환경에서도 접근을 할 수 있게 (물론 컨테이너로 구성을 해도 되나. 굳이 컨테이너로 구성할 필요성이 있나 싶어 별도의 VM으로 구성) VM형태로 설치를 하였다.
CI/CD는 애플리케이션 개발 단계를 자동화하여 애플리케이션을 보다 짧은 주기로 고객에게 제공한다. CI (Continuous Integration) CI를 통해 개발자들은 코드 변경사항을 공유 브랜치로 다시 병합하는 작업을 더욱 수월하게 자주 수행 할 수 있다. CD (Continuous Delivery || Continuous Deploy) 두용어는 상호 교환적으로 사용됨.
- Continuous Deliver의 경우 코드 변경 , 병합으로부터 Prodcution에 적합한 빌드를 제공하여 모든 단계에 테스트 및 릴리스를 자동화한다.
- Continuous Deploy는 어플리케이션을 프로덕션으로 릴리스 작업을 자동화
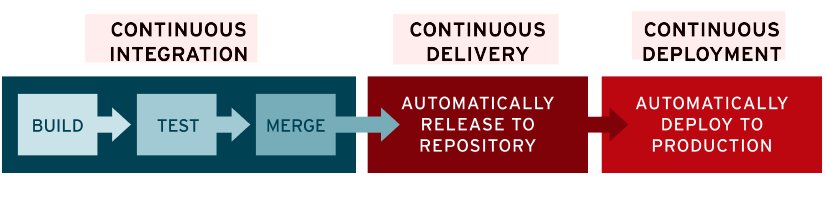
CICD
참고 문헌 Redhat
1. 설치
JAVA Install
|
|
Jenkins Install
|
|
패스워드 확인
|
|
1.1. 설치 완료
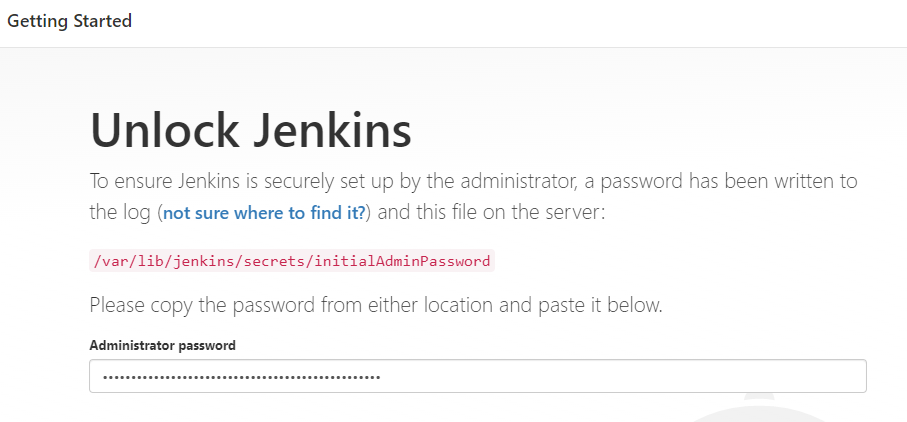
접속 화면 #1
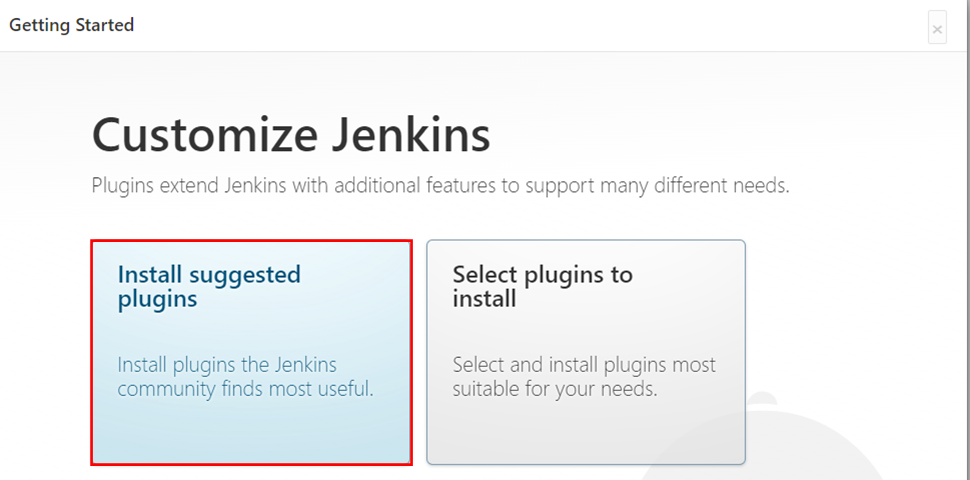
접속 화면 #2
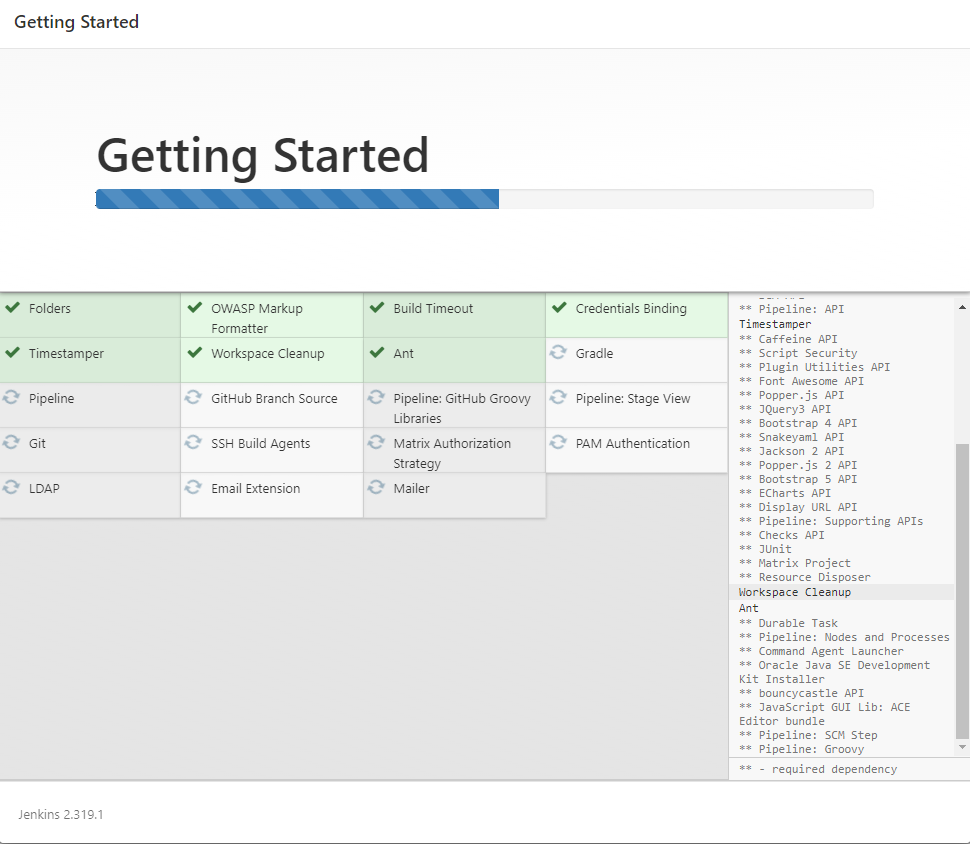
접속 화면 #3
2. HTTPS 설정
내부에서 사용하기 때문에 HTTP로 구성을 해도 되나 보안상 HTTPS를 구성이 필요할 경우가 있을 수 있기 때문에 2가지 경우로 HTTPS 구성의 대해서 설명하고자 하자. 하나는 자체적으로 구성을 하는 것이고 다른 하나는 NGINX를 구성해요 HTTPS를 구성 하는 것이다. 물론 L4를 사용해서 구성 할 수 도 있으나, 굳이 L4 장비까지 사용할 이유가 없으니 간단하게 NGINX를 사용하기로 한다.
2.1. HTTPS 구성
인증서 설치, root.sh.
인증서 생성
|
|
root.sh에 있는 파일 내용을 복사해서 shell 실행
|
|
인증서 권한 변경
|
|
Jenkins 파일 변경
|
|

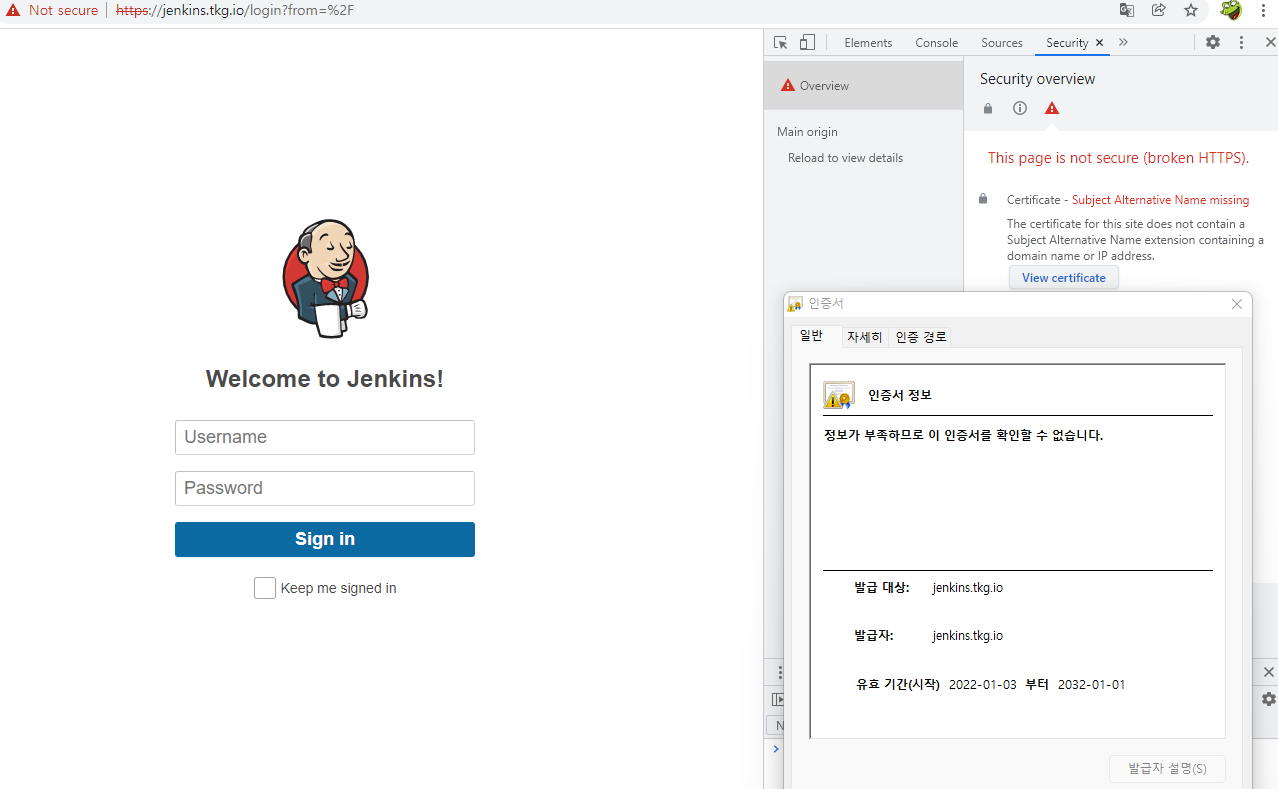
HTTPS 접속 화면 #1
2.2. NGINX로 HTTPS 구성
NGINX를 구성하기 위해 Jenkins 설정은 그냥 HTTP로 구성을 해도 무방하다. 여기서는 위에서 설정을 했기 때문에 별도로 설정을 변경하지 않고했기 때문에 뒷단의 Jenkins를 HTTPS로 그대로 놔둔것이라고 봐도 된다. 만약에 Jenkins Server는 HTTP로 구성을 하려면 그냥 두고 NGINX에서 Reverse Proxy 구성을 하면 된다. 용어가 나와서 헷갈릴수도 있지만. Proxy_pass 부분만 http:// 로 바꾸면 된다.
NGINX 가상 서버 구성
|
|
symbolic link 연결
|
|
NGINX로 연결 후 HTTPS 접속 화면 #1
3. SLACK 연동
SLACK을 연동하여 메시지를 받을 수 있게 구성을 한다.
3.1. SLCAK 설정
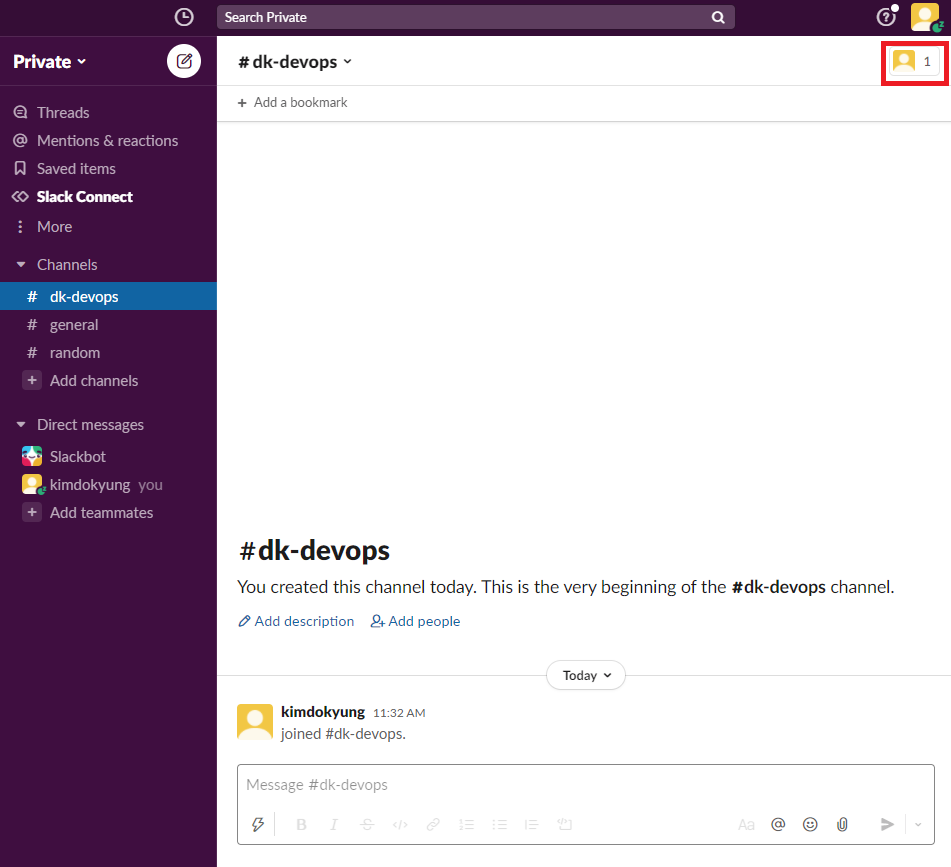
SLACK 접속
APP 등록
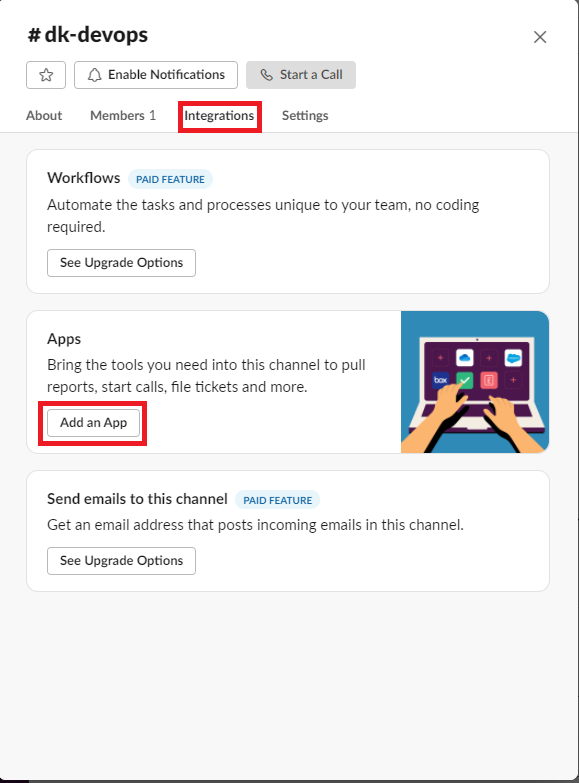
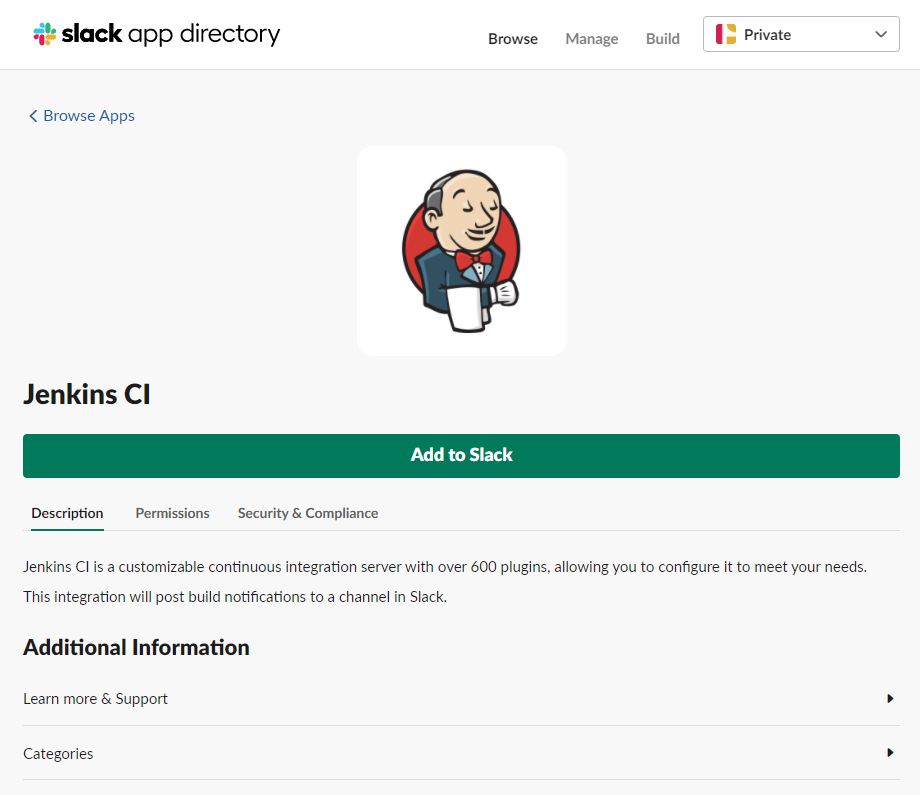
SLACK APP 추가#1
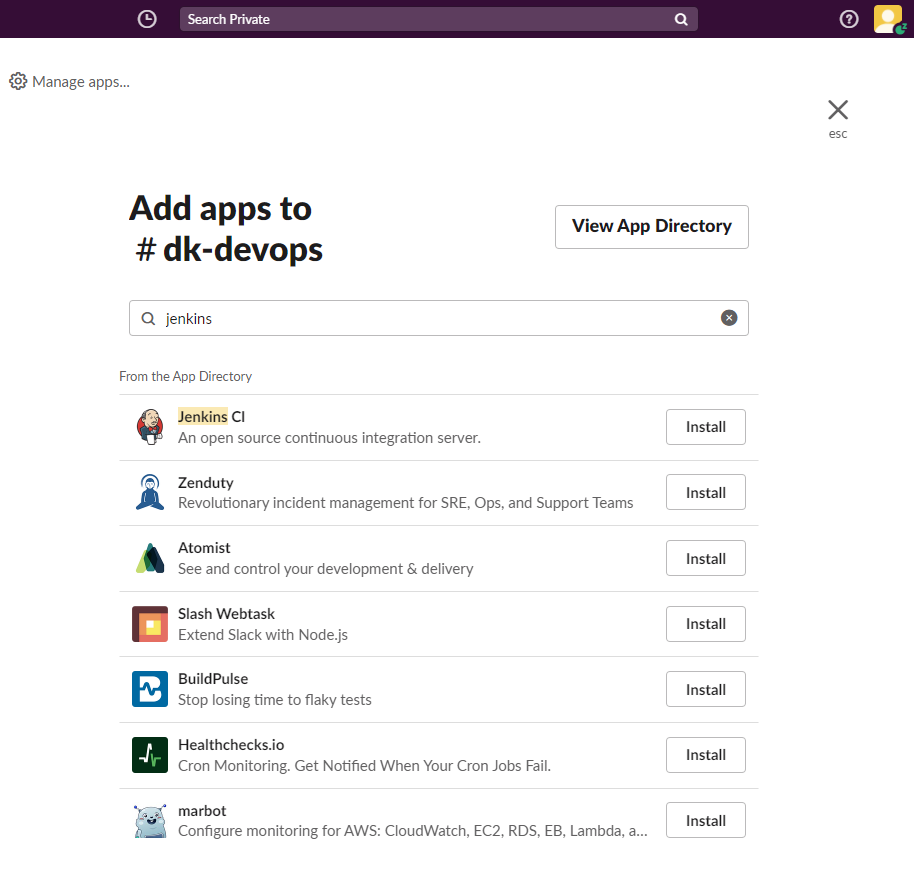
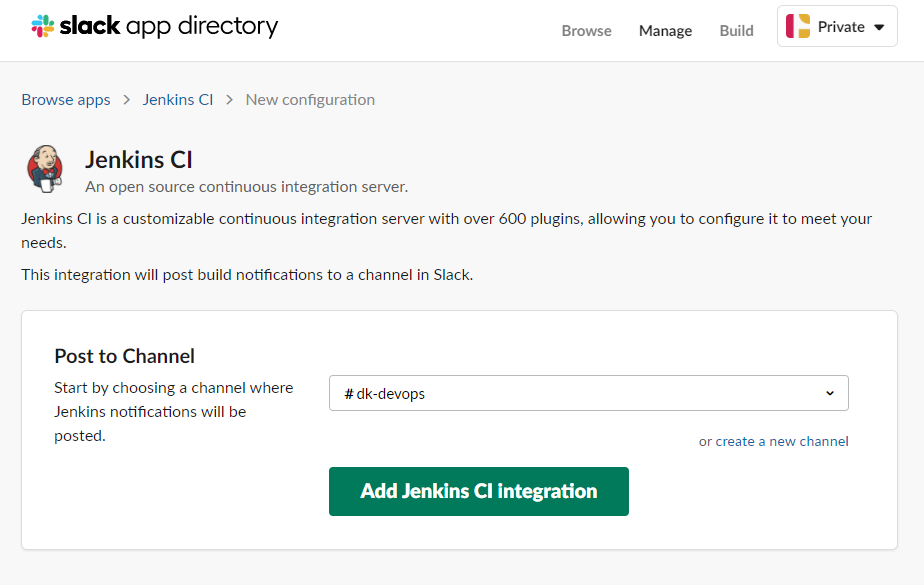
SLACK APP 추가#2
SLACK APP 추가#3
SLACK APP 추가#4
위에 내용까지 설정을 하면 Jenkins를 어떻게 설정하라고 나오는대 좀 오래 되었나보다. 요즘에 변경된 부분의 대해서 설정 하는 방법을 나열한다.
3.2. JENKINS 설정
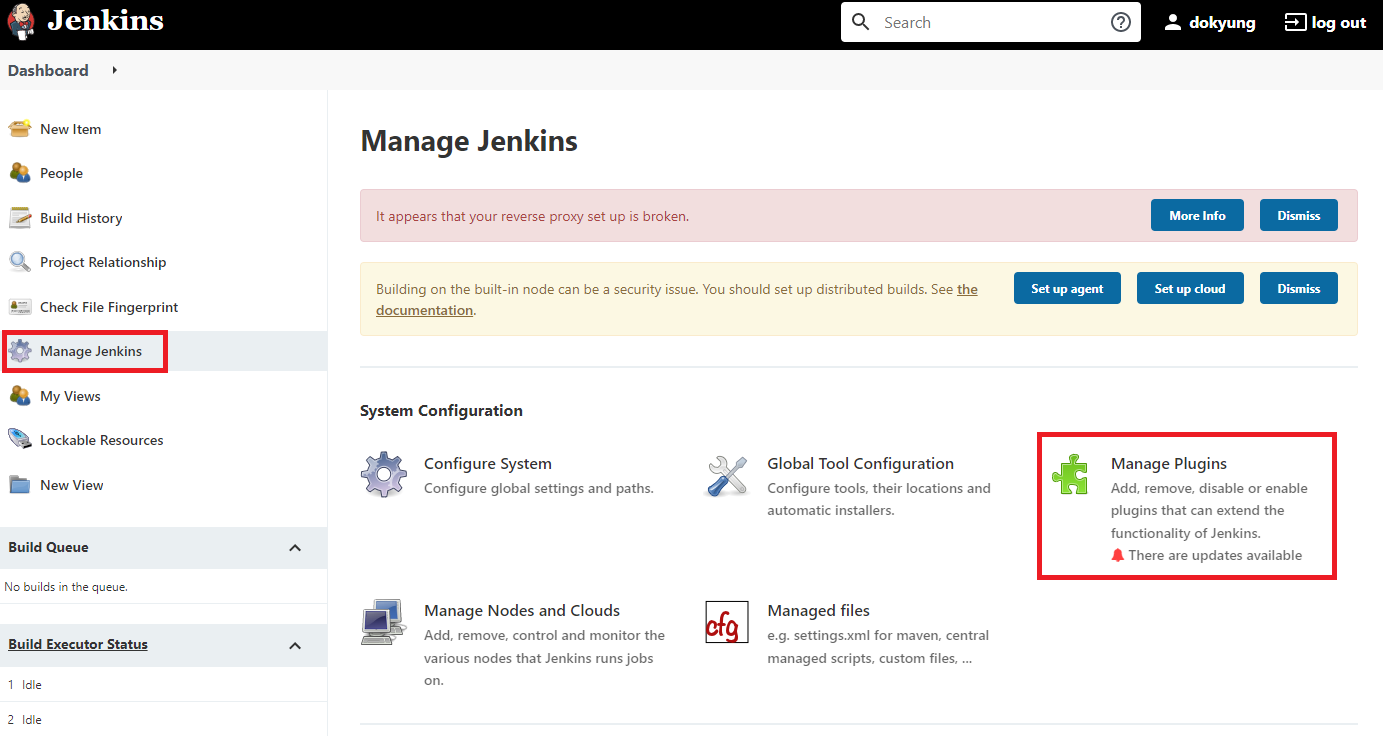
Jenkins Slack Plugin 설치#1
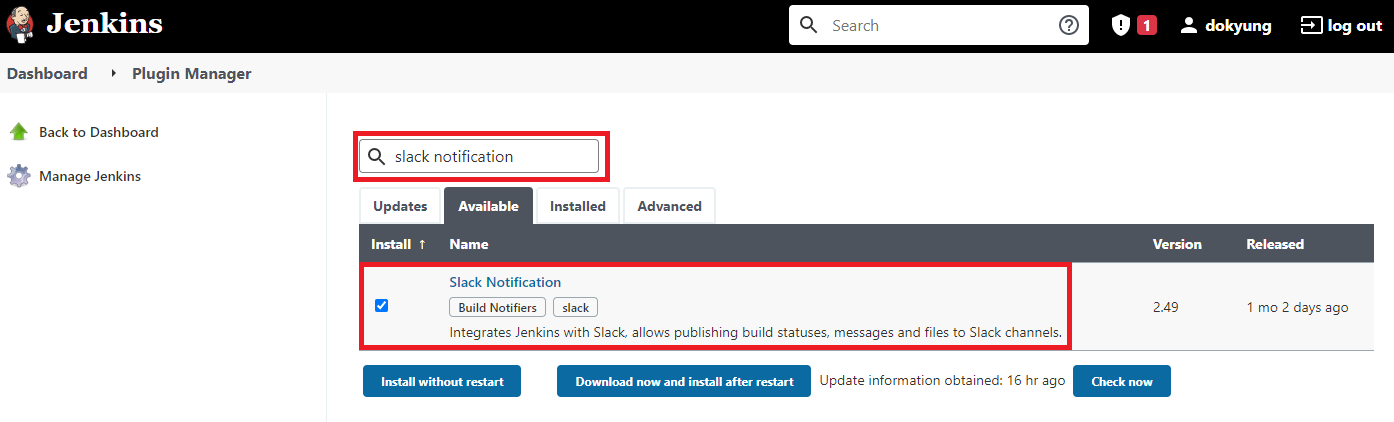
Jenkins Slack Plugin 설치#2
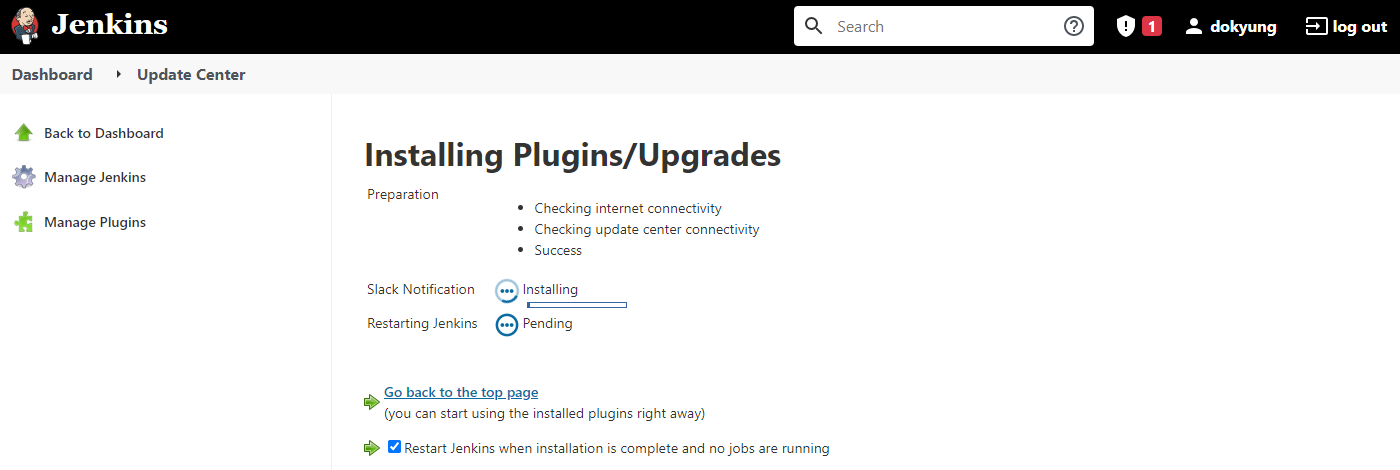
Jenkins Slack Plugin 설치#3
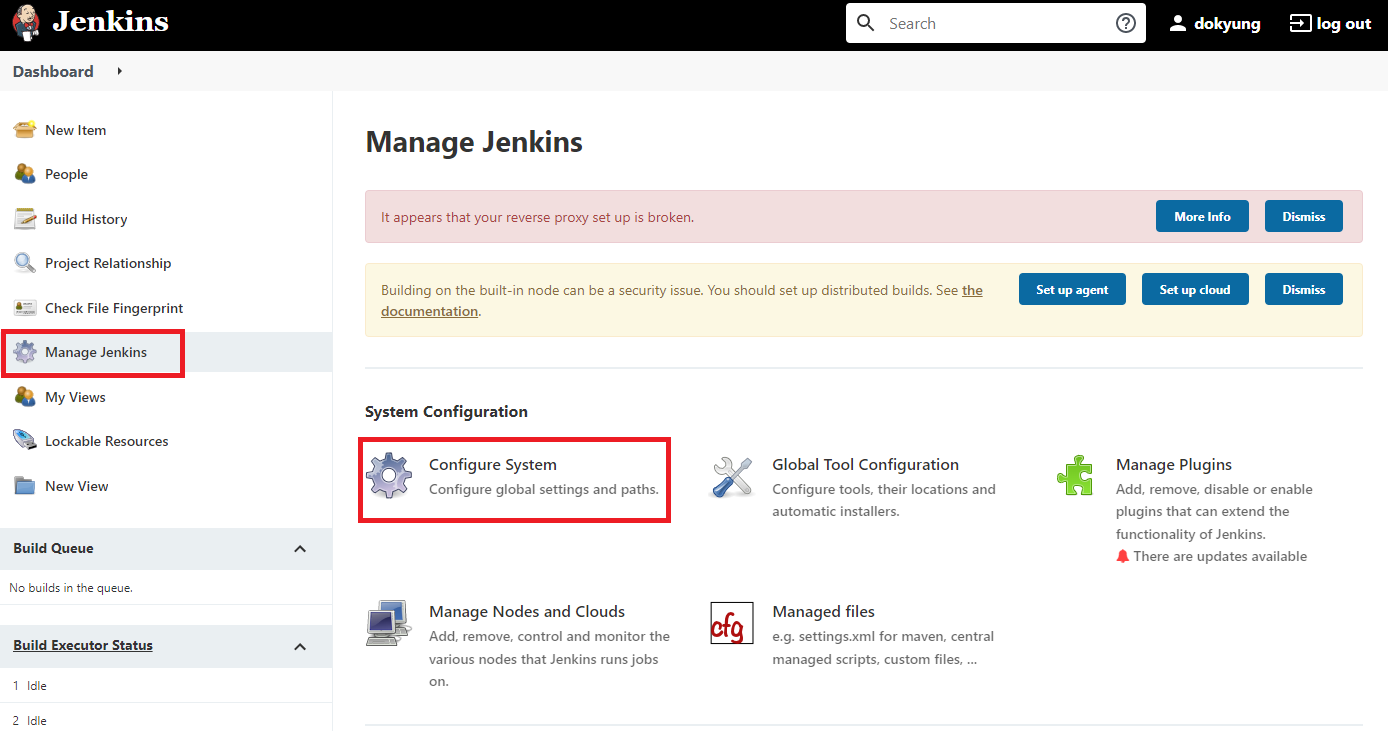
Jenkins Slack 설정#1
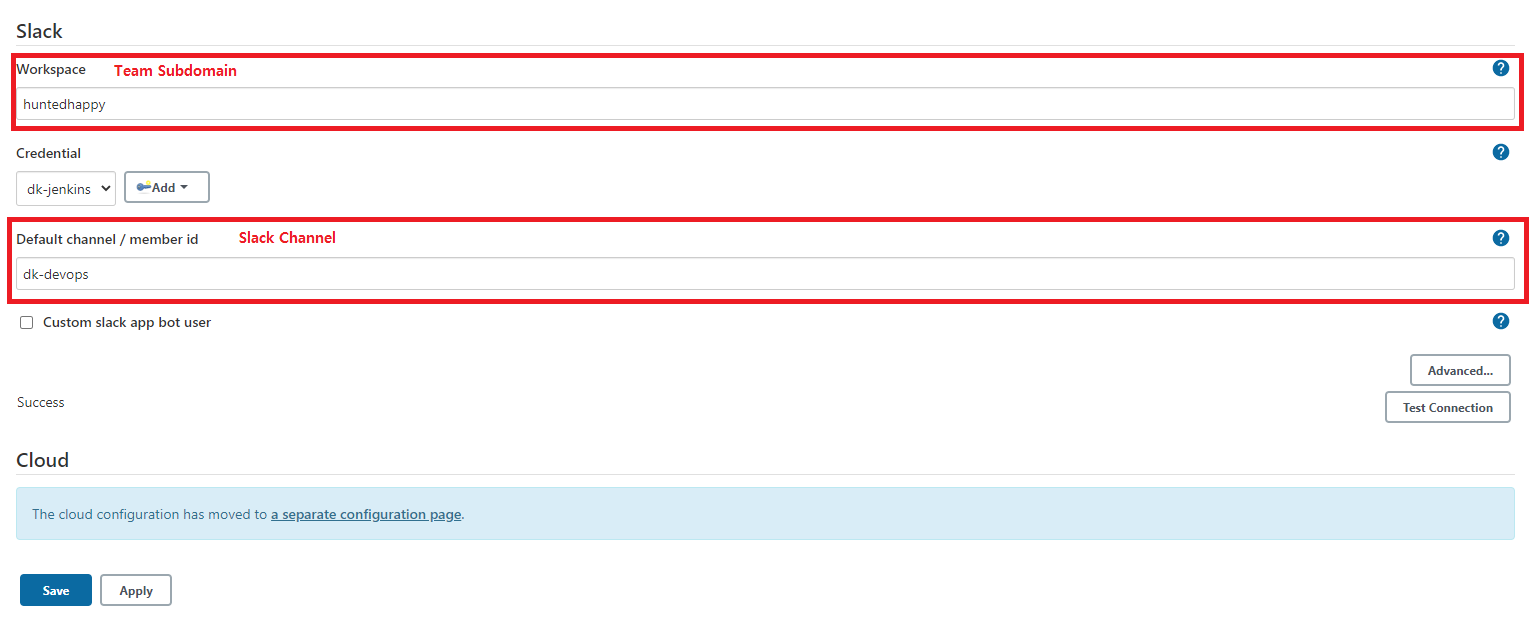
Jenkins Slack 설정#2
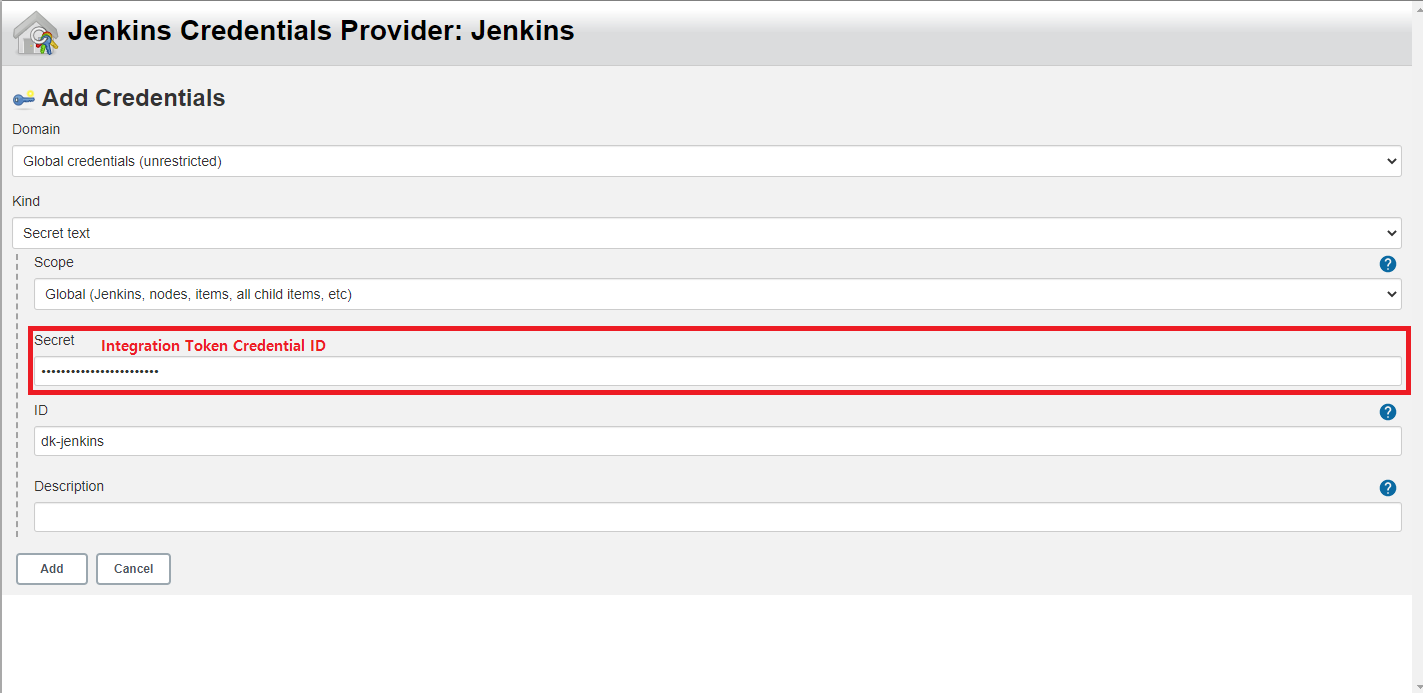
Jenkins Slack Credentials 설정
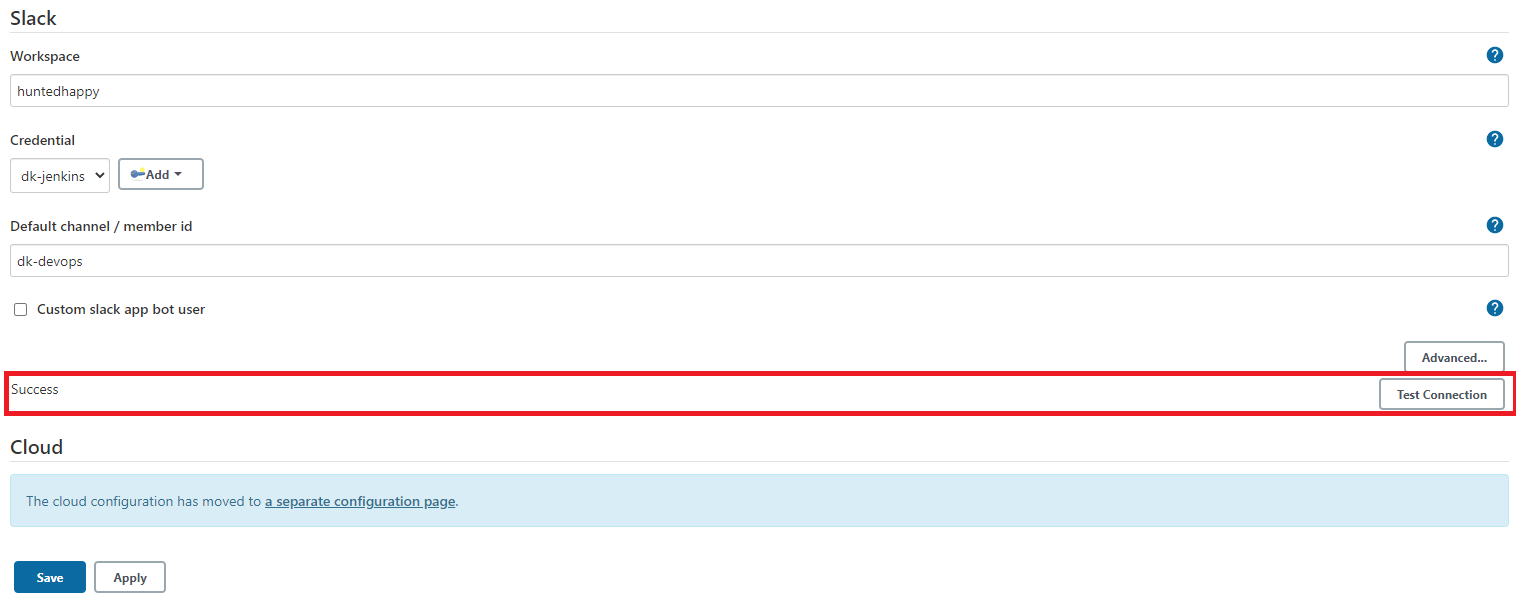
Jenkins Slack 설정 테스트