Jenkins는 아무래도 많이 사용하는 CI/CD 일것이다. 우선 컨테이너 환경에서 CI를 구성하기 위해서 Jenkins를 구성 하였고, 클러스터가 많은 환경에서도 접근을 할 수 있게 (물론 컨테이너로 구성을 해도 되나. 굳이 컨테이너로 구성할 필요성이 있나 싶어 별도의 VM으로 구성)
VM형태로 설치를 하였다.
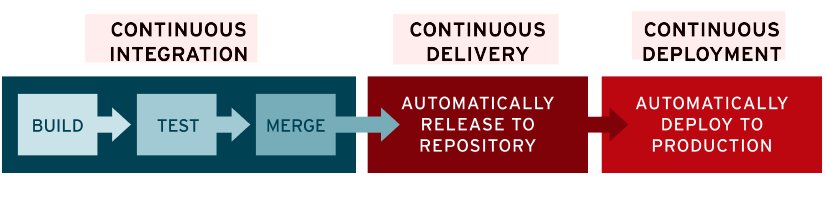
CI/CD는 애플리케이션 개발 단계를 자동화하여 애플리케이션을 보다 짧은 주기로 고객에게 제공한다.
CI (Continuous Integration) CI를 통해 개발자들은 코드 변경사항을 공유 브랜치로 다시 병합하는 작업을 더욱 수월하게 자주 수행 할 수 있다.
CD (Continuous Delivery || Continuous Deploy) 두용어는 상호 교환적으로 사용됨.
Continuous Deliver의 경우 코드 변경 , 병합으로부터 Prodcution에 적합한 빌드를 제공하여 모든 단계에 테스트 및 릴리스를 자동화한다.
Continuous Deploy는 어플리케이션을 프로덕션으로 릴리스 작업을 자동화
CICD
참고 문헌
JAVA Install
1
2
3
4
5
6
7
apt update && apt upgrade

sudo apt search openjdk

sudo apt install openjdk-11-jdk -y

java --version
Jenkins Install
1
2
3
4
5
6
7
8
wget -q -O - https://pkg.jenkins.io/debian-stable/jenkins.io.key | sudo apt-key add -
sudo sh -c 'echo deb https://pkg.jenkins.io/debian-stable binary/ > /etc/apt/sources.list.d/jenkins.list'

sudo apt update -y
sudo apt install jenkins -y

systemctl restart jenkins
systemctl enable jenkins
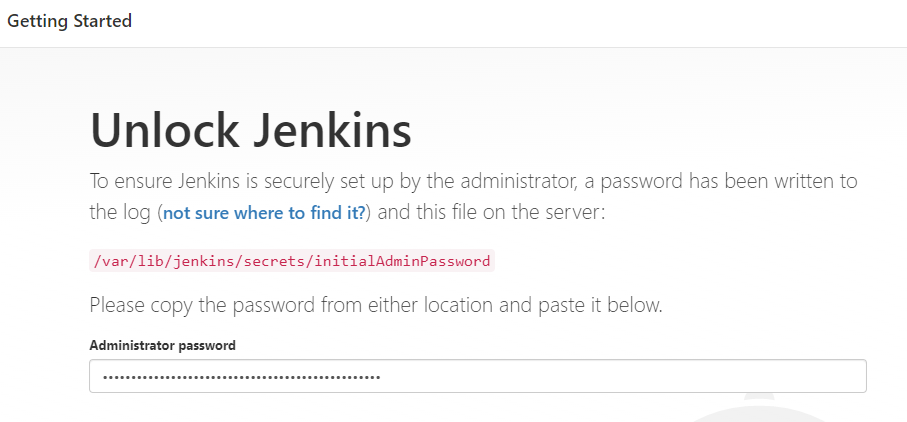
패스워드 확인
1
cat /var/lib/jenkins/secrets/initialAdminPassword
접속 화면 #1
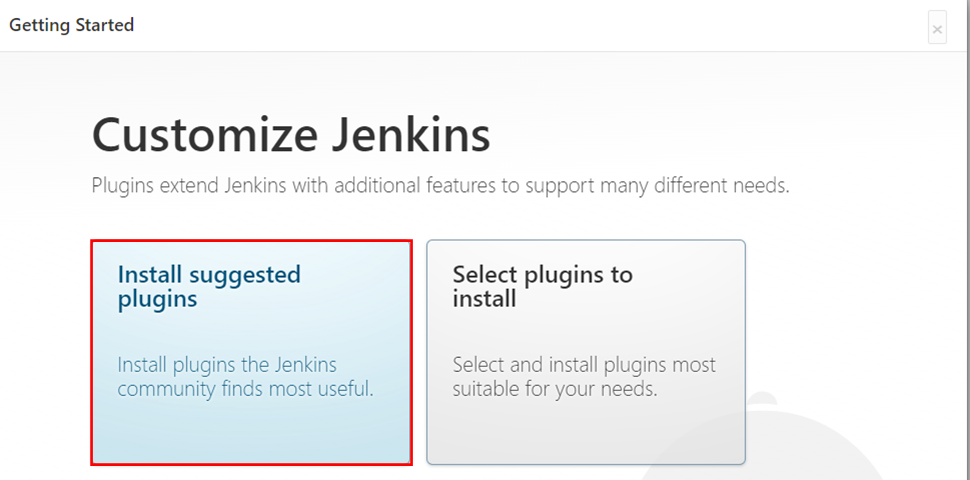
접속 화면 #2
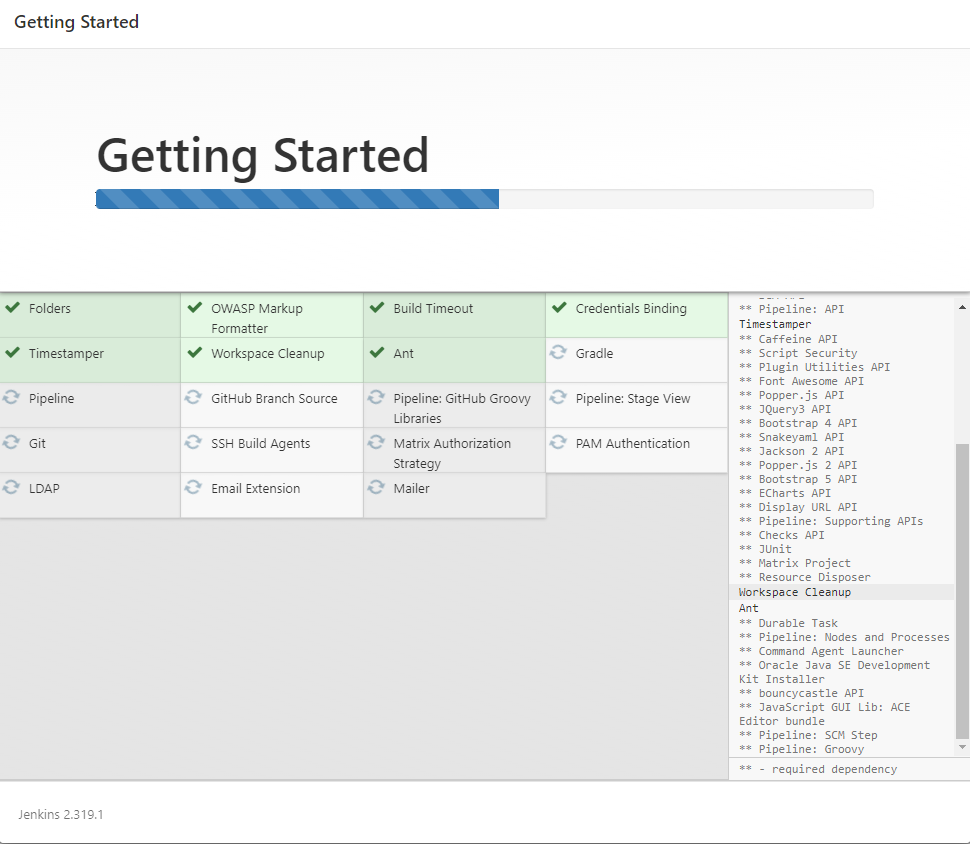
접속 화면 #3
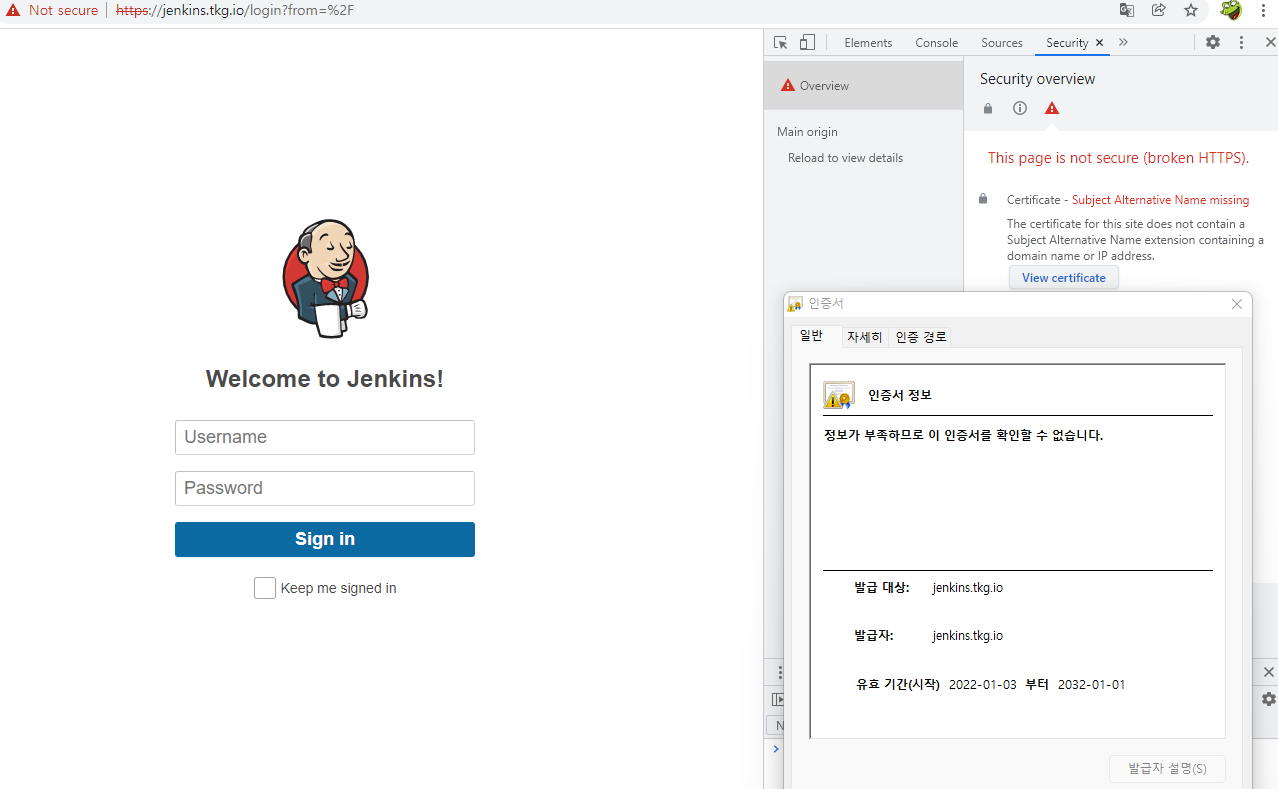
인증서 설치,
인증서 생성
1
export domain = jenkins.tkg.io
root.sh에 있는 파일 내용을 복사해서 shell 실행
인증서 권한 변경
1
2
3
chmod 700 /data/cert
chmod 600 /data/cert/yourdomain.com.cert
chmod 600 /data/cert/yourdomain.com.key
Jenkins 파일 변경
 1
 2
 3
 4
 5
 6
 7
 8
 9
10
11
12
vi /etc/default/jenkins
HTTP_PORT = 8080 ### ---> 이부분을 찾아서 아래 부분을 채워 넣어주자.
HTTP_PORT_DISABLE = -1 ### HTTP DISABLE
HTTPS_CERT = /data/cert/yourdomain.com.cert ### 인증서
HTTPS_KEY = /data/cert/yourdomain.com.key ### KEY
### args 마지막 줄에 빨간 부분을 채워서 넣어준다.
JENKINS_ARGS = "--webroot=/var/cache/ $NAME /war --httpPort= $HTTP_PORT --httpPort= $HTTP_PORT_DISABLE --httpsPort= $HTTP_PORT --httpsCertificate= $HTTPS_CERT --httpsPrivateKey= $HTTPS_KEY "
### jenkins restart
systemctl restart jenkins
HTTPS 접속 화면 #1
NGINX 가상 서버 구성
 1
 2
 3
 4
 5
 6
 7
 8
 9
10
11
12
13
14
15
16
17
18
19
20
21
22
23
24
25
26
27
28
29
vi /etc/nginx/sites-available/jenkins
server {
server_name jenkins.tkg.io;
location / {
proxy_redirect off;
proxy_pass_header Server;
proxy_set_header Host $http_host ;
proxy_set_header X-Real-IP $remote_addr ;
proxy_set_header X-Forwarded-Proto $scheme ;
proxy_pass https://127.0.0.1:8080/;
}
listen 443 ssl;
ssl_certificate /data/cert/yourdomain.com.crt;
ssl_certificate_key /data/cert/yourdomain.com.key;
ssl_client_certificate /data/cert/ca.crt;
}
server {
if ( $host = jenkins.tkg.io) {
return 301 https://$host$request_uri ;
} # managed by Certbot
listen 80;
server_name jenkins.tkg.io;
return 404; # managed by Certbot
}
symbolic link 연결
1
2
3
 cd /etc/nginx/sites-enabled

 ln -s  /etc/nginx/sites-available/jenkins .
NGINX로 연결 후 HTTPS 접속 화면 #1
SLACK을 연동하여 메시지를 받을 수 있게 구성을 한다.
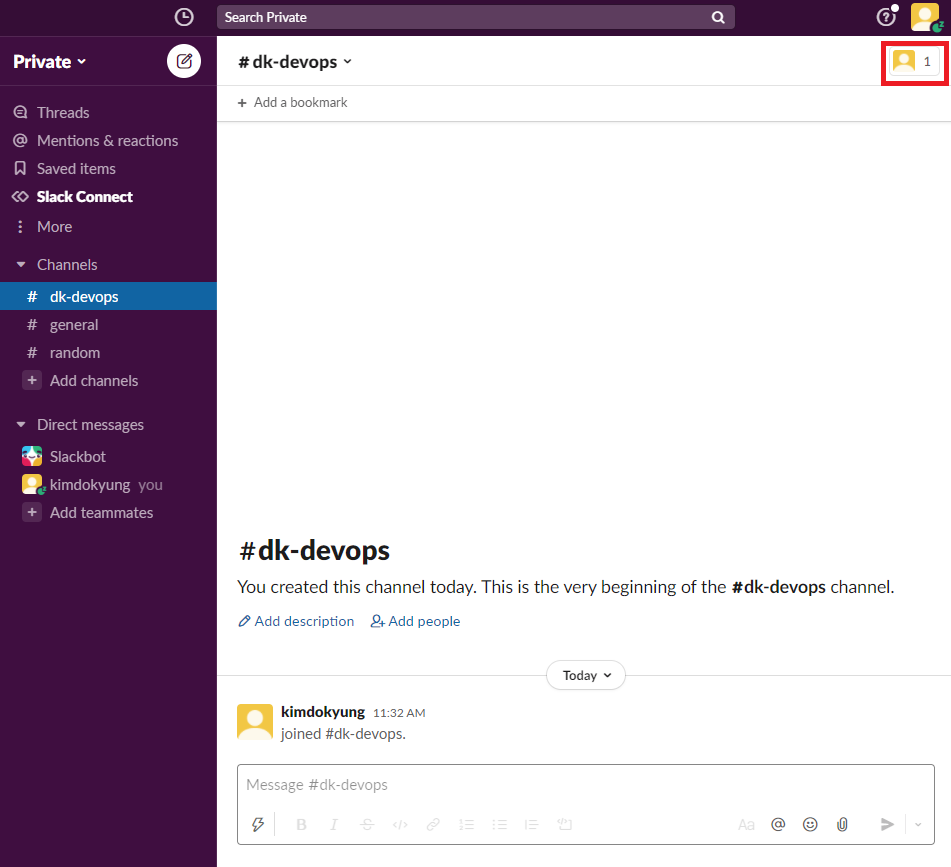
SLACK 접속
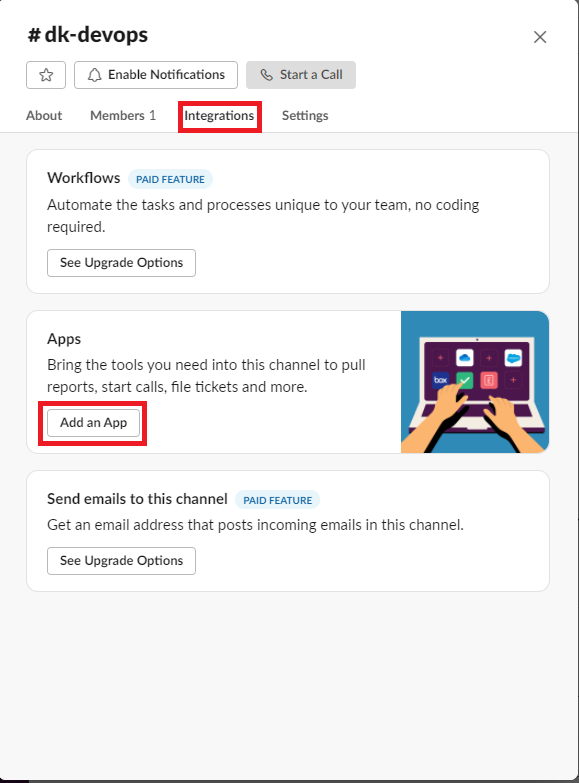
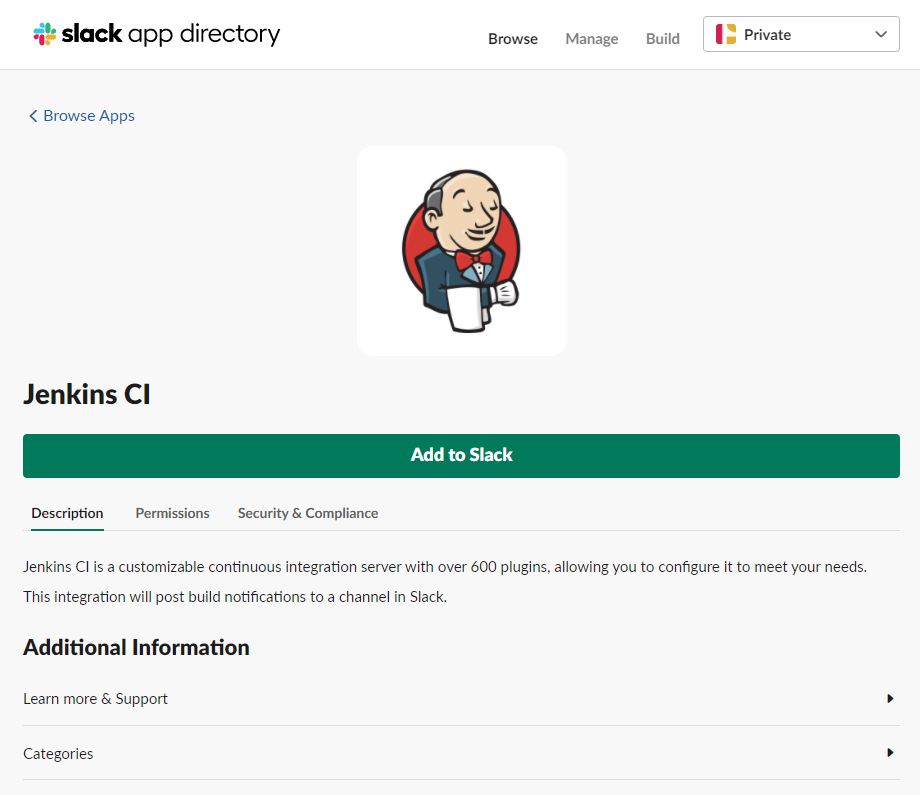
APP 등록
SLACK APP 추가#1
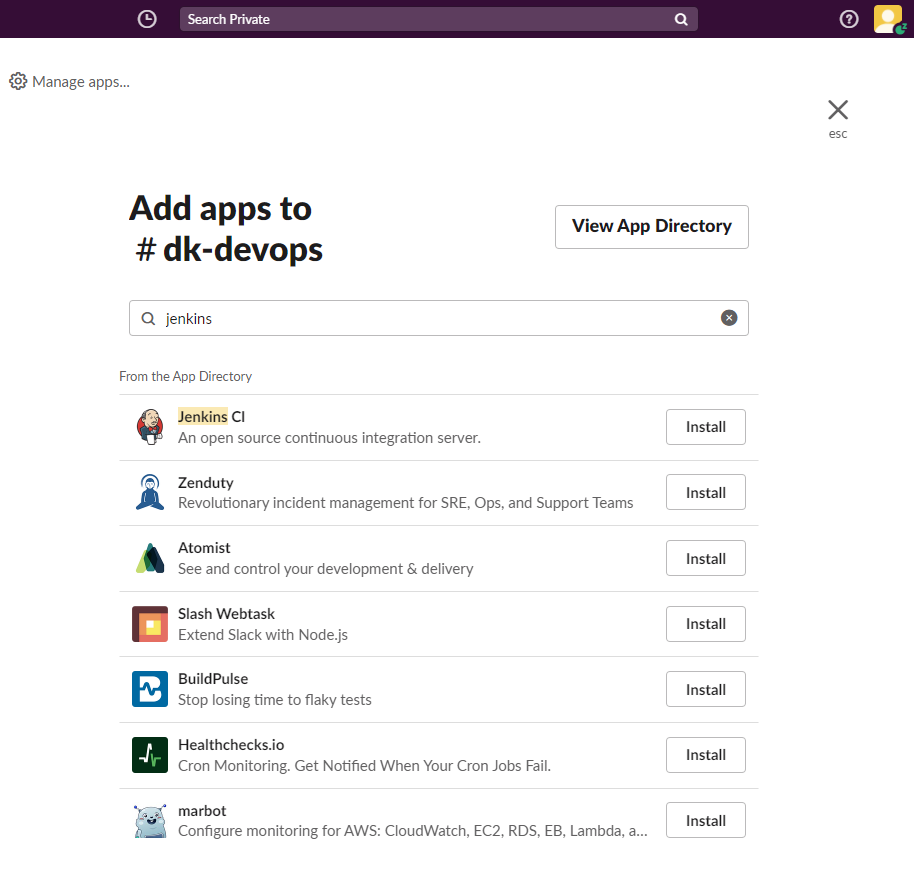
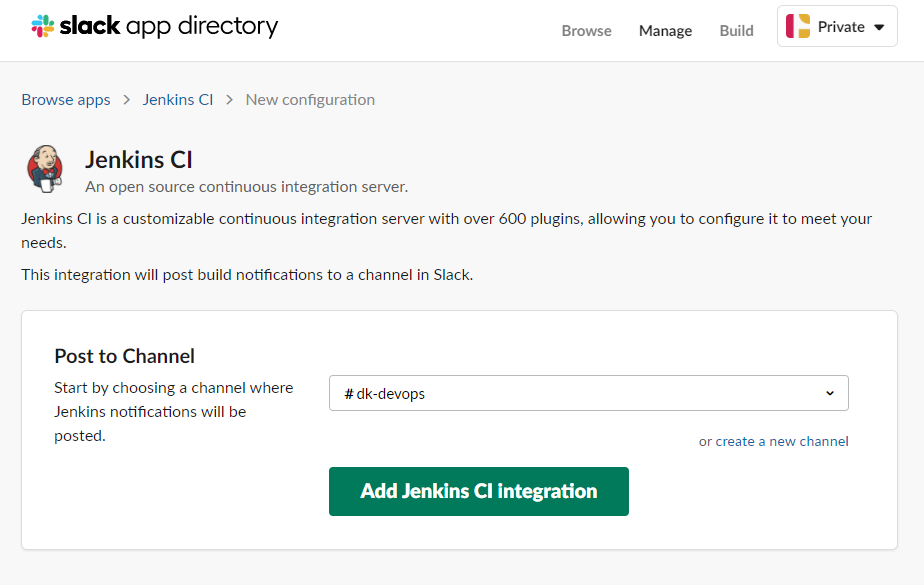
SLACK APP 추가#2
SLACK APP 추가#3
SLACK APP 추가#4
위에 내용까지 설정을 하면 Jenkins를 어떻게 설정하라고 나오는대 좀 오래 되었나보다. 요즘에 변경된 부분의 대해서 설정 하는 방법을 나열한다.
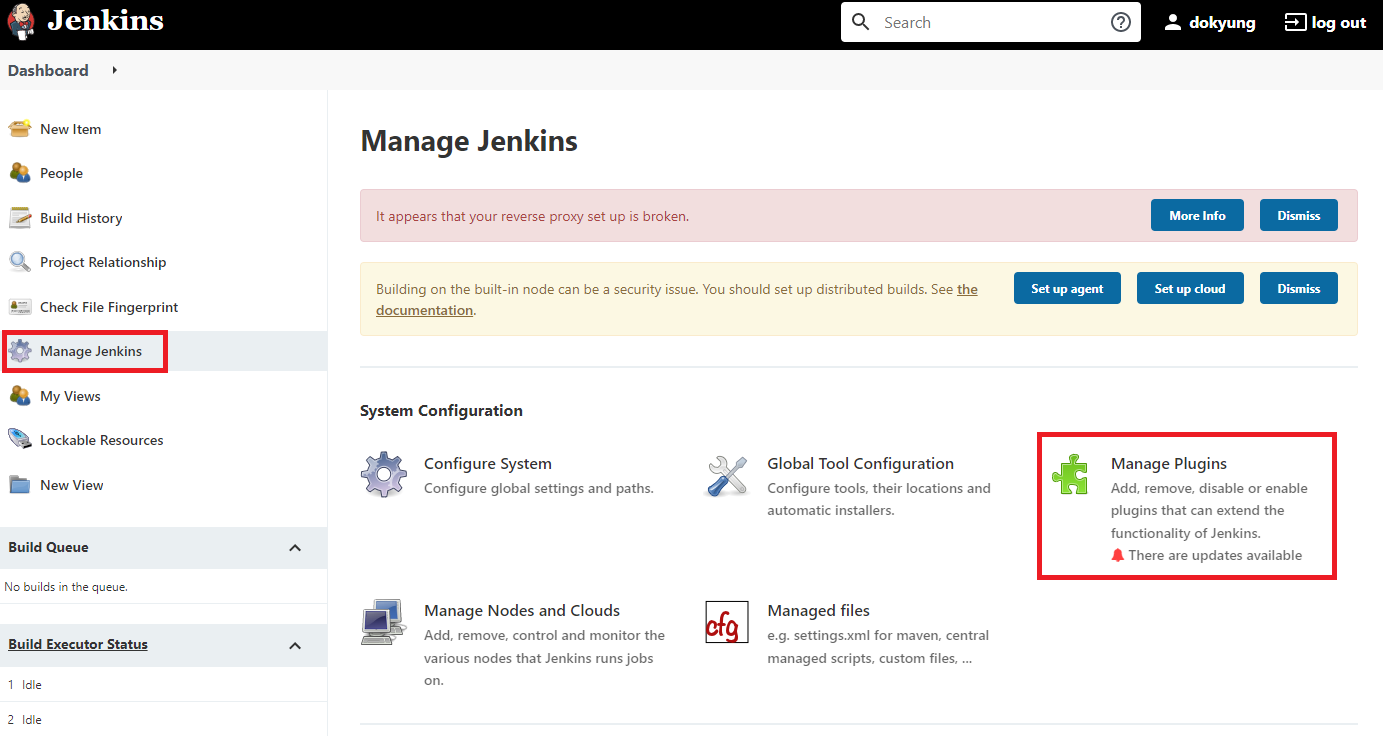
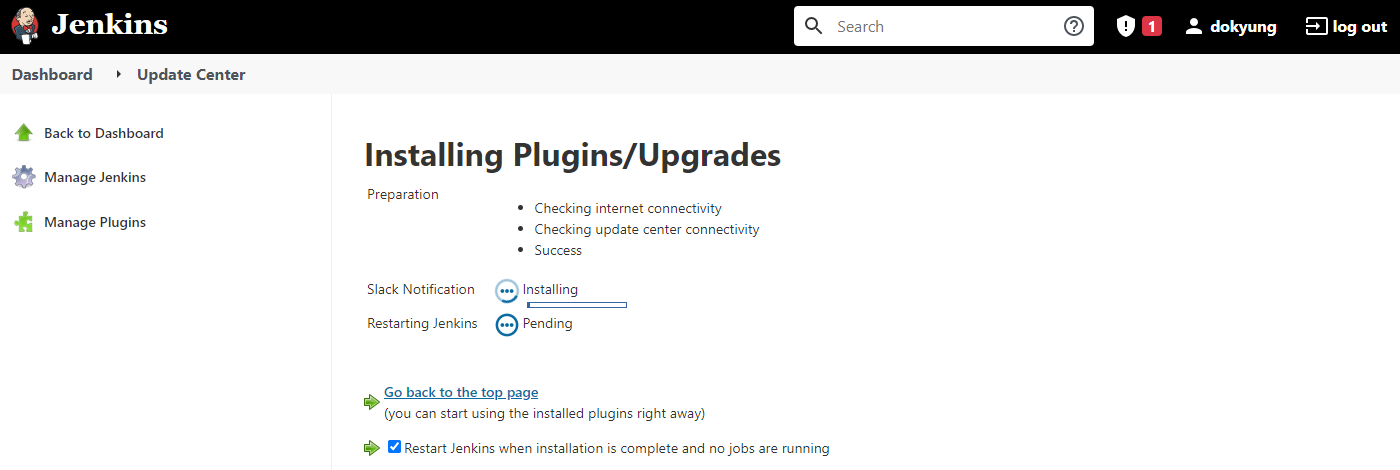
Jenkins Slack Plugin 설치#1
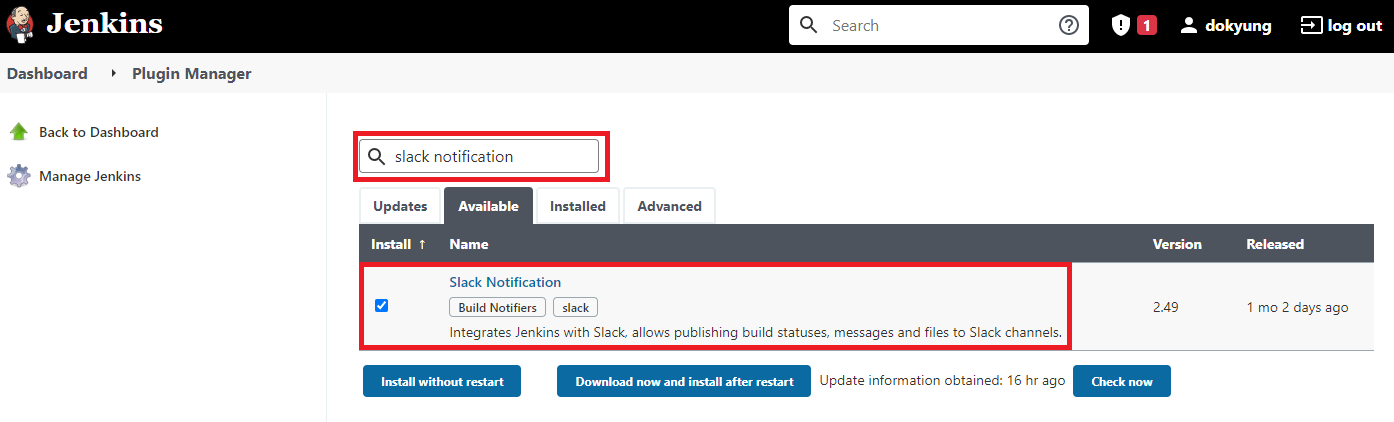
Jenkins Slack Plugin 설치#2
Jenkins Slack Plugin 설치#3
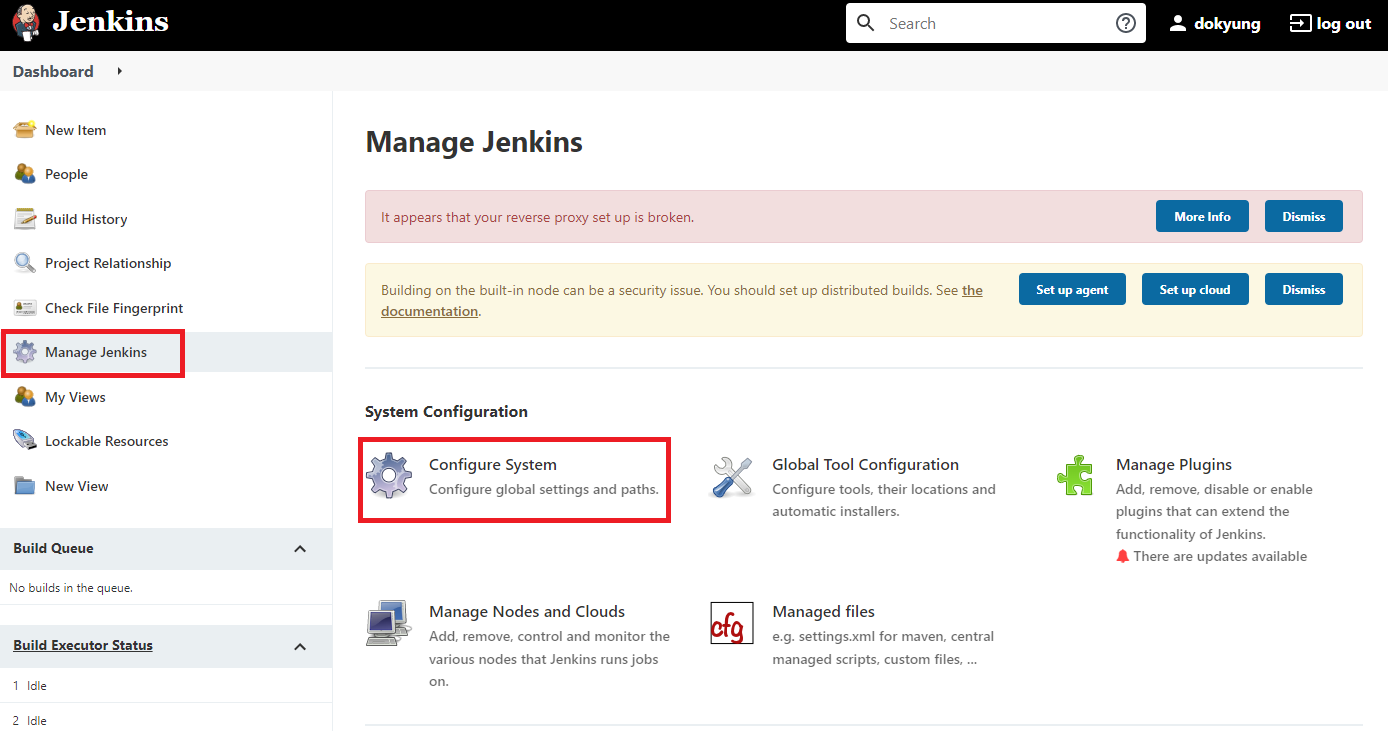
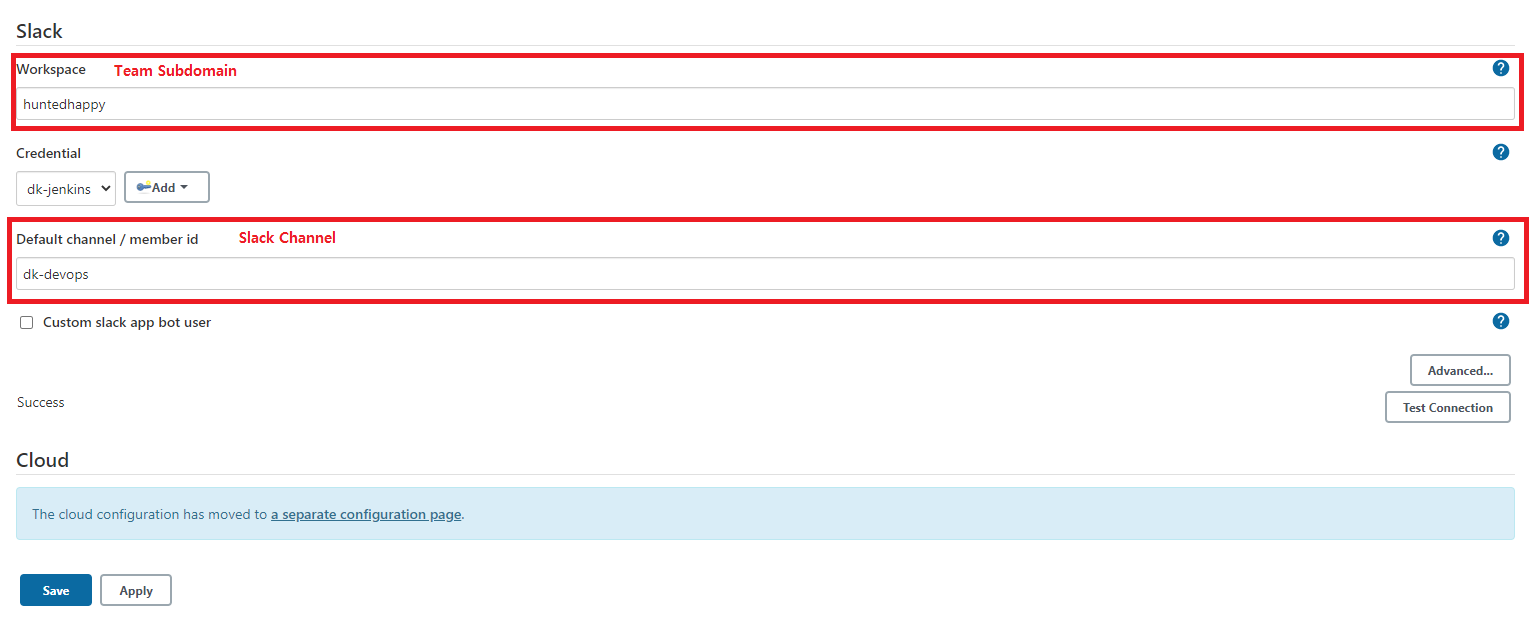
Jenkins Slack 설정#1
Jenkins Slack 설정#2
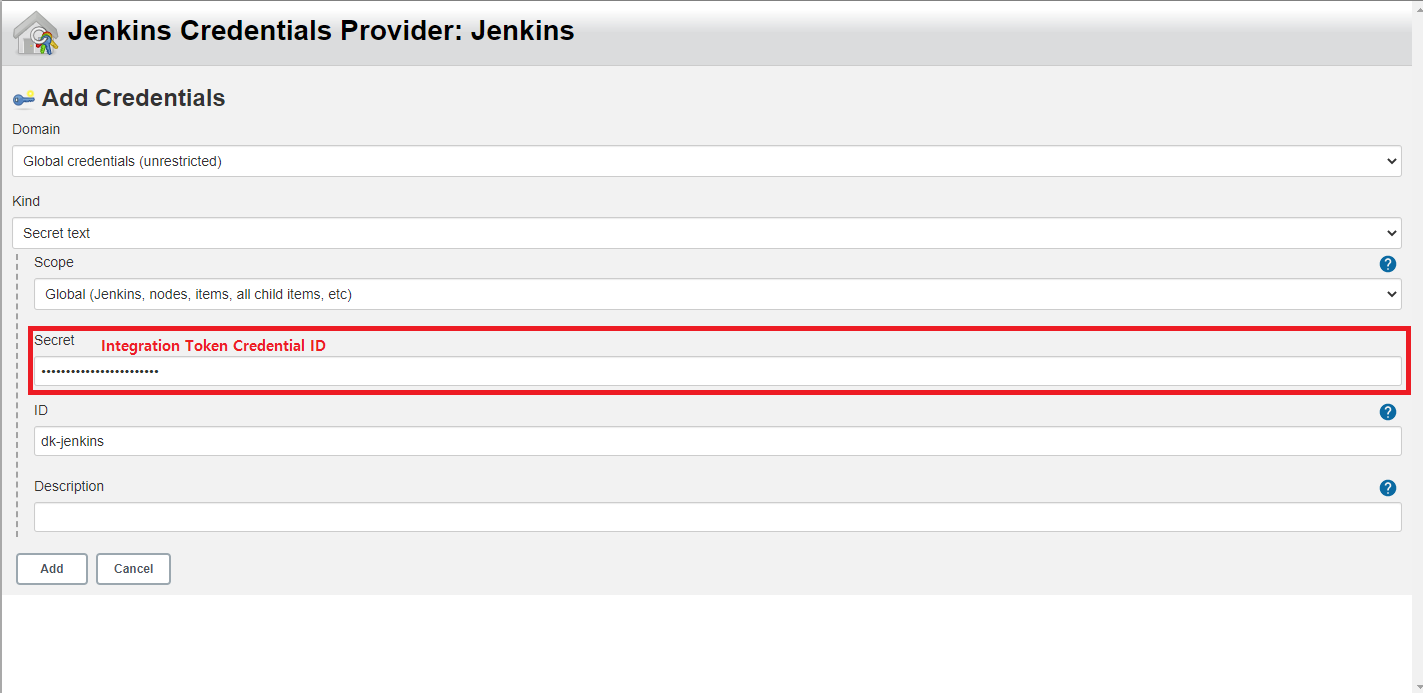
Jenkins Slack Credentials 설정
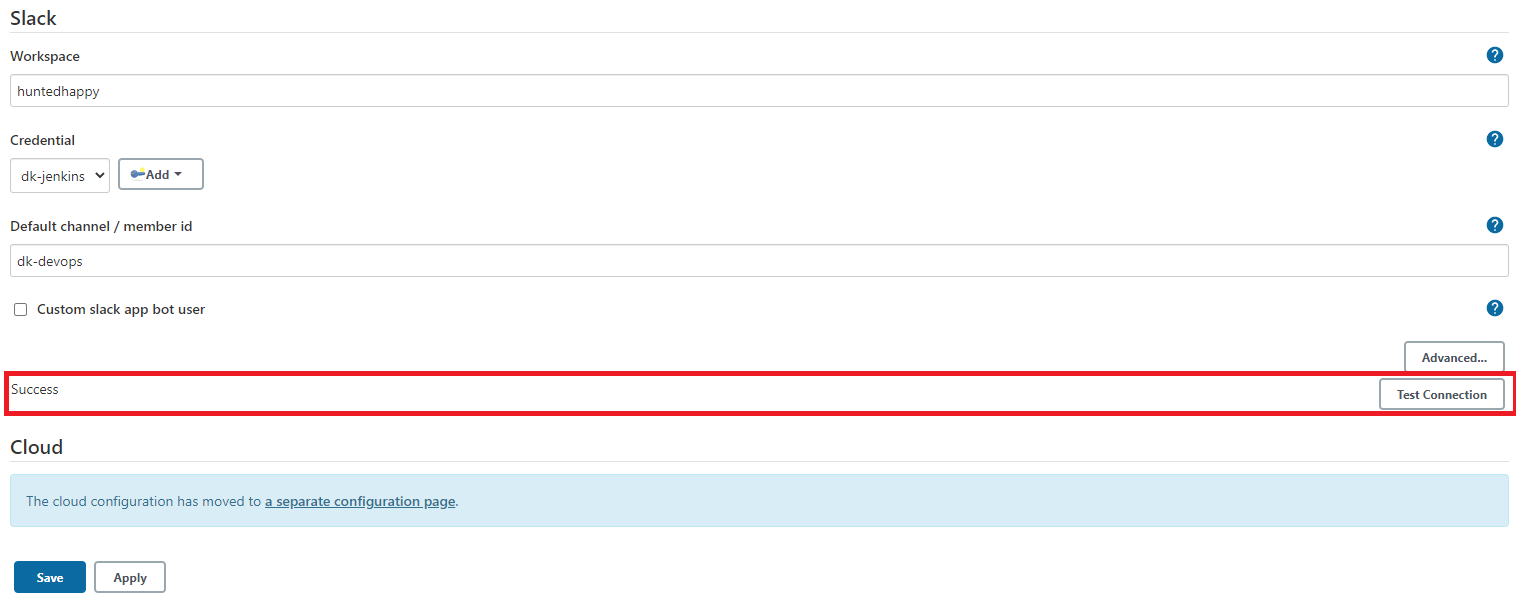
Jenkins Slack 설정 테스트