1. TANZU와 KEYCLOAK 연동
TANZU는 기본적으로 LDAPS 또는 OIDC와 연동이 가능합니다. 그 중에 무료 서비스인 KEYCLOAK을 활용하여 TANZU와 KEYCLOAK 연동
2. KEYCLOAK 구성
KEYCLOAK DOWNLOAD LINK
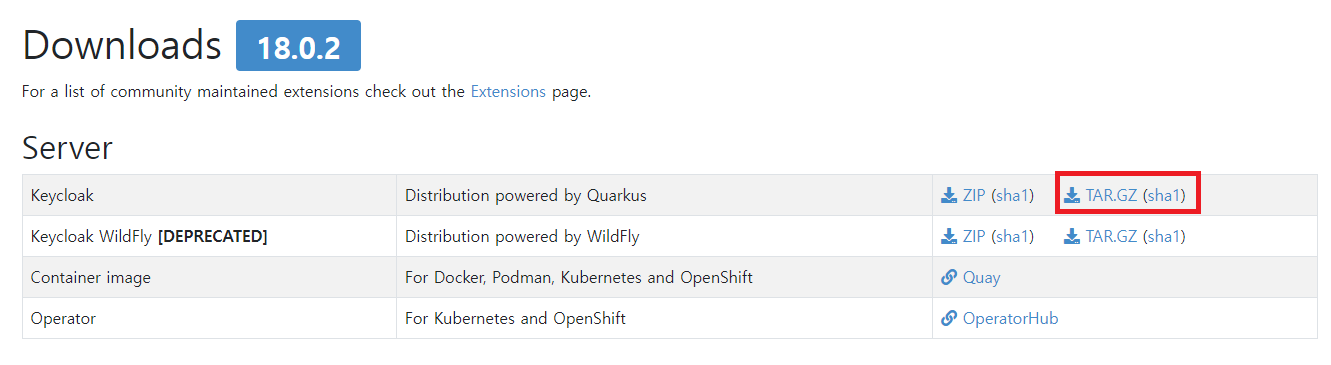
keycloak download
KEYCLOAK 설치
인증서는 사설 인증서로 생성
1
2
3
4
5
6
7
8
|
## 압축 해제
tar zxvf keycloak-18.0.2.tar.gz

cd keycloak-18.0.2
export KEYCLOAK_ADMIN=admin
export KEYCLOAK_ADMIN_PASSWORD=''

bin/kc.sh start-dev --https-certificate-file {인증서} --https-certificate-key-file {인증서 KEY} --https-port 8443 --hostname {hostname} &
|
reaml 생성
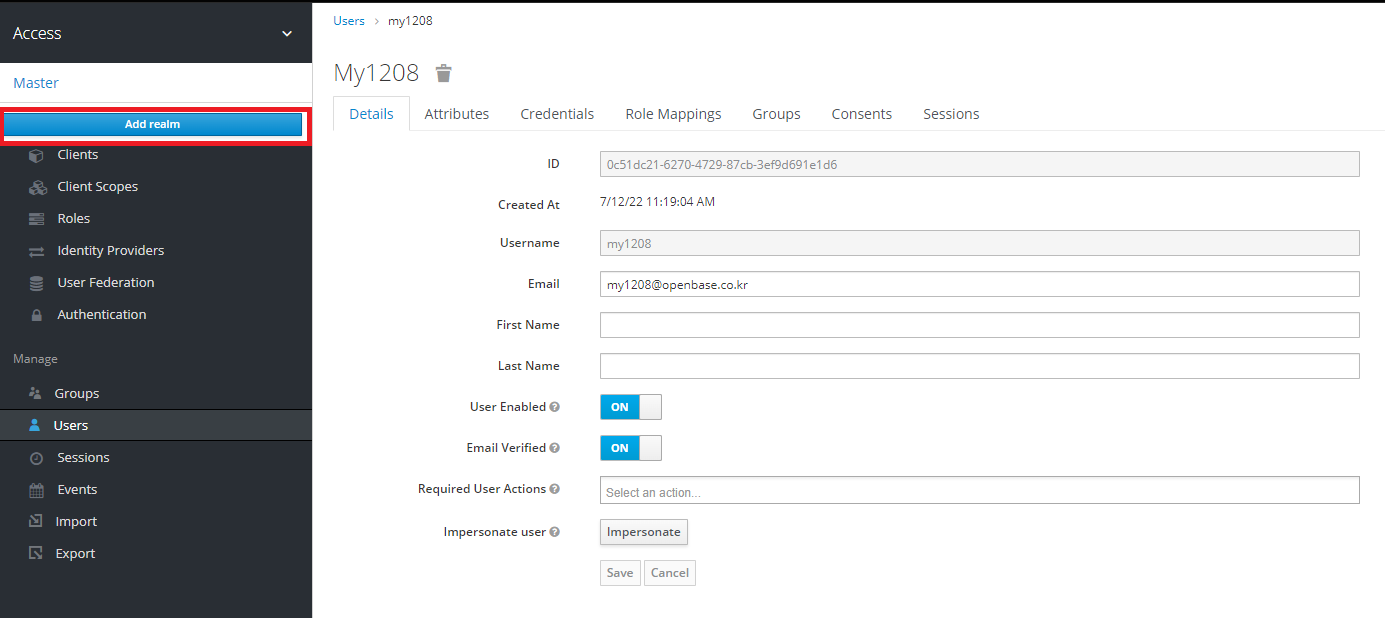
realm 생성
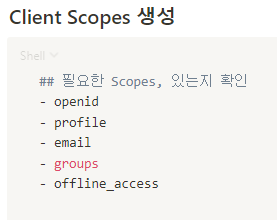
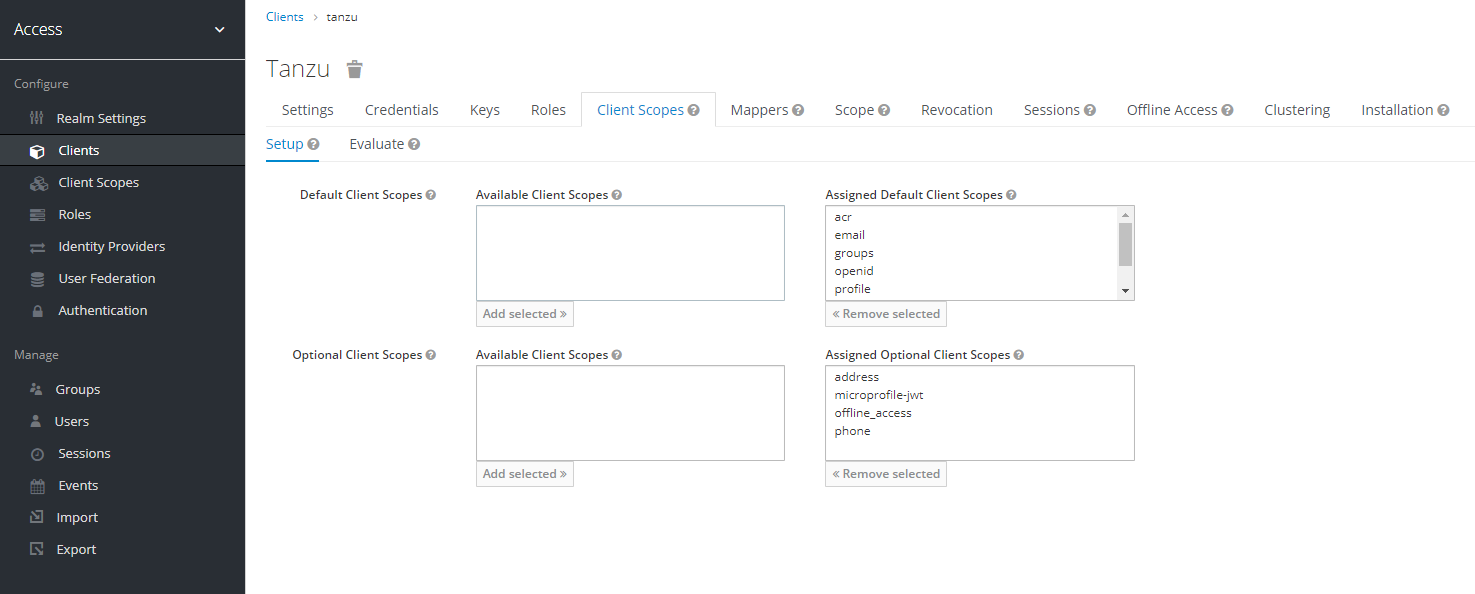
필요한 Client Scopes
Client Scopes
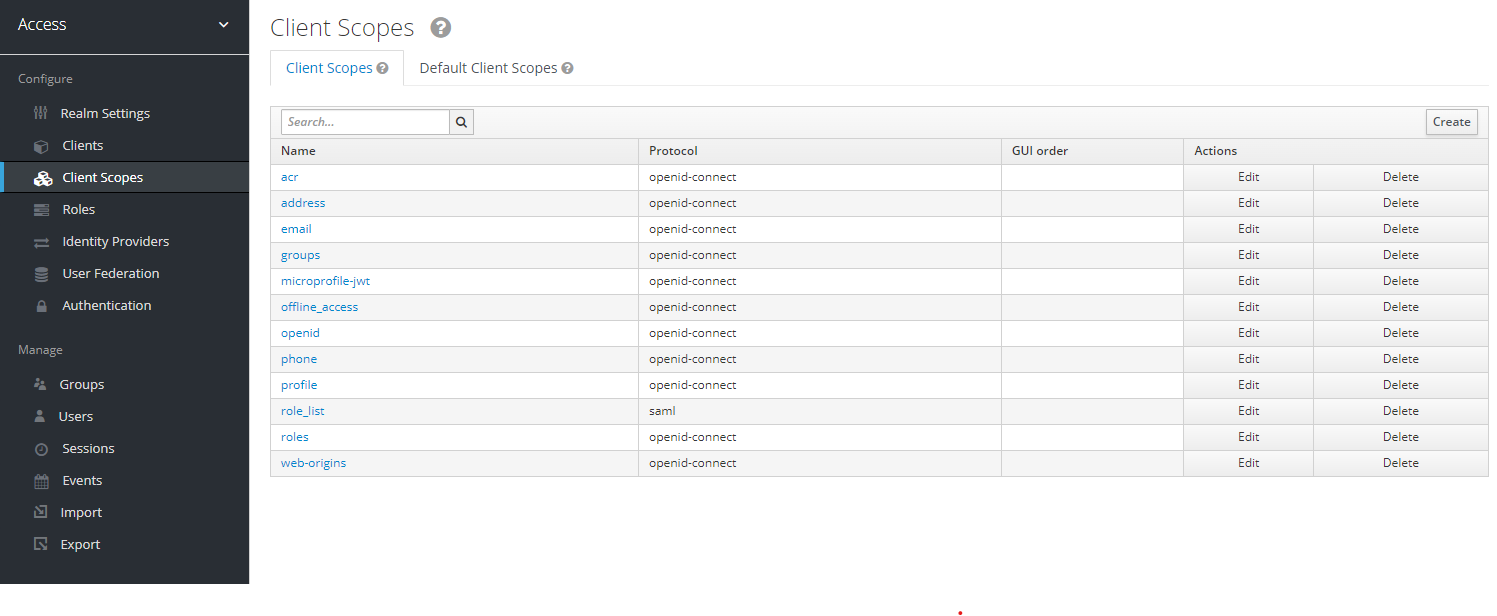
Client Scopes
Client Scopes
Clients 생성
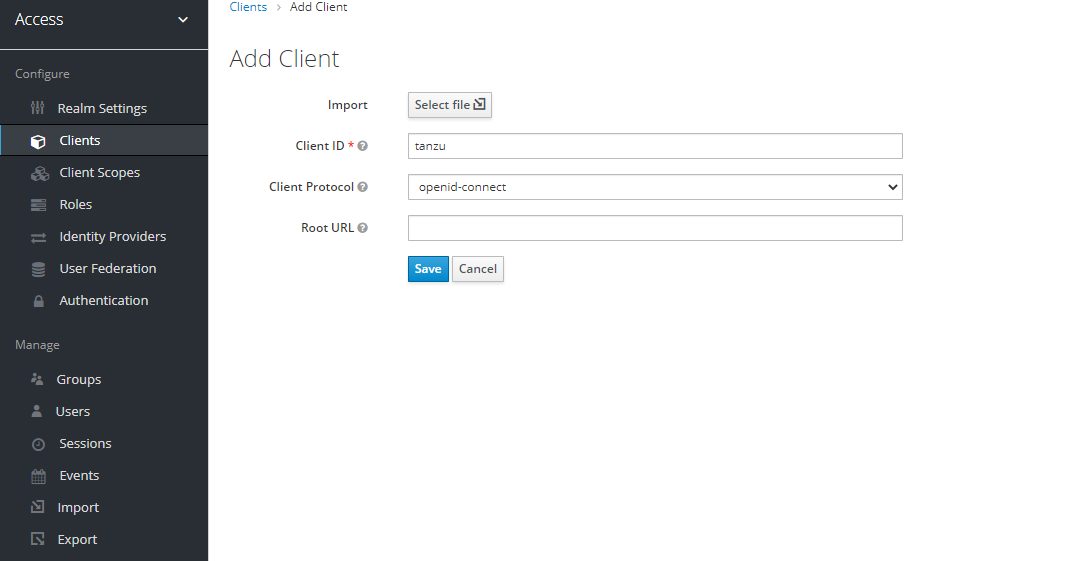
Clients 생성
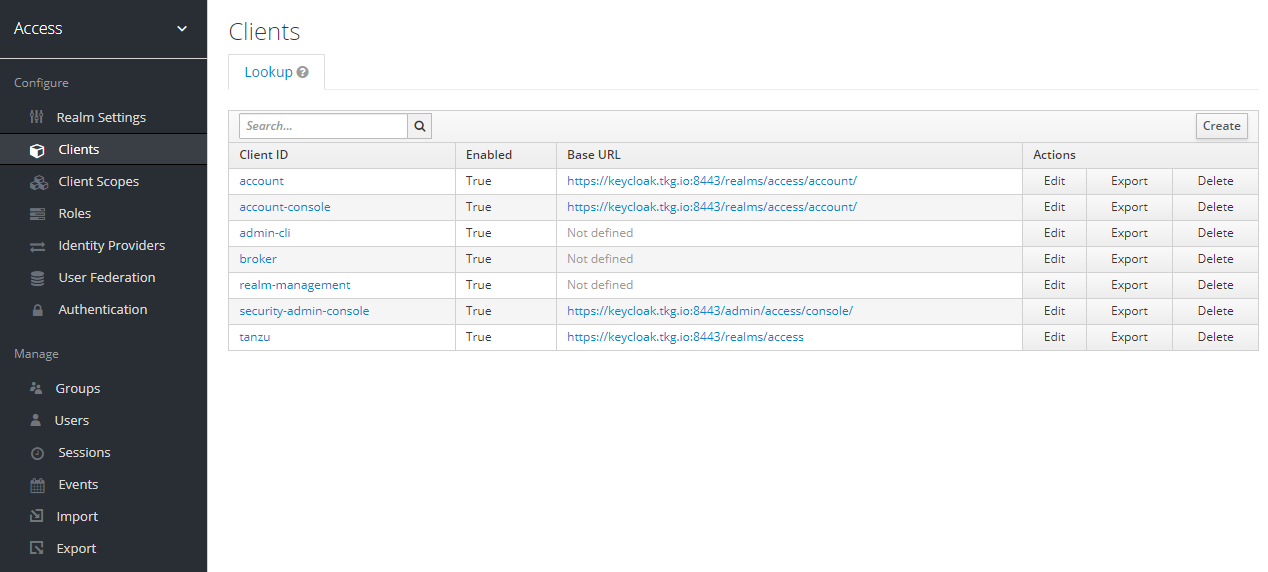
Clients 생성
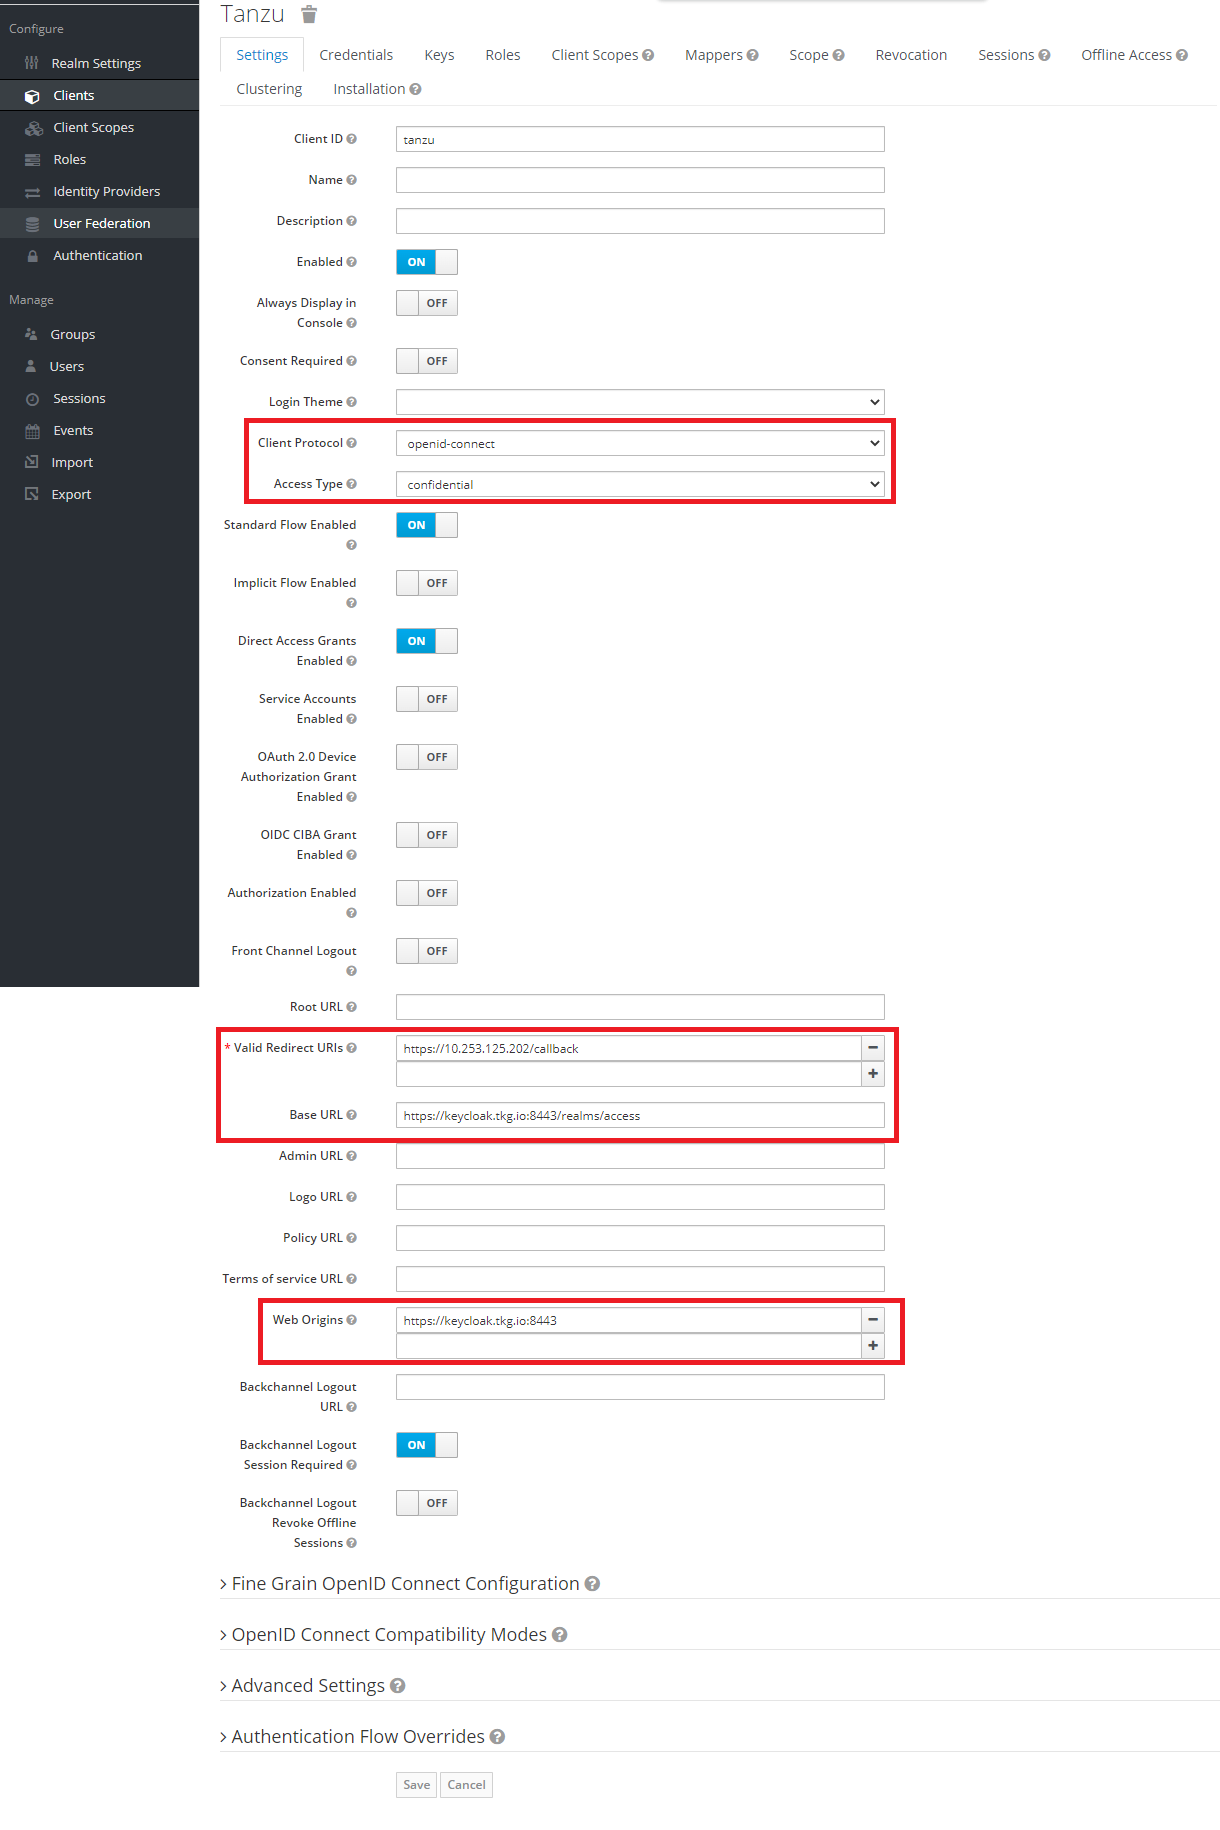
Clients 생성
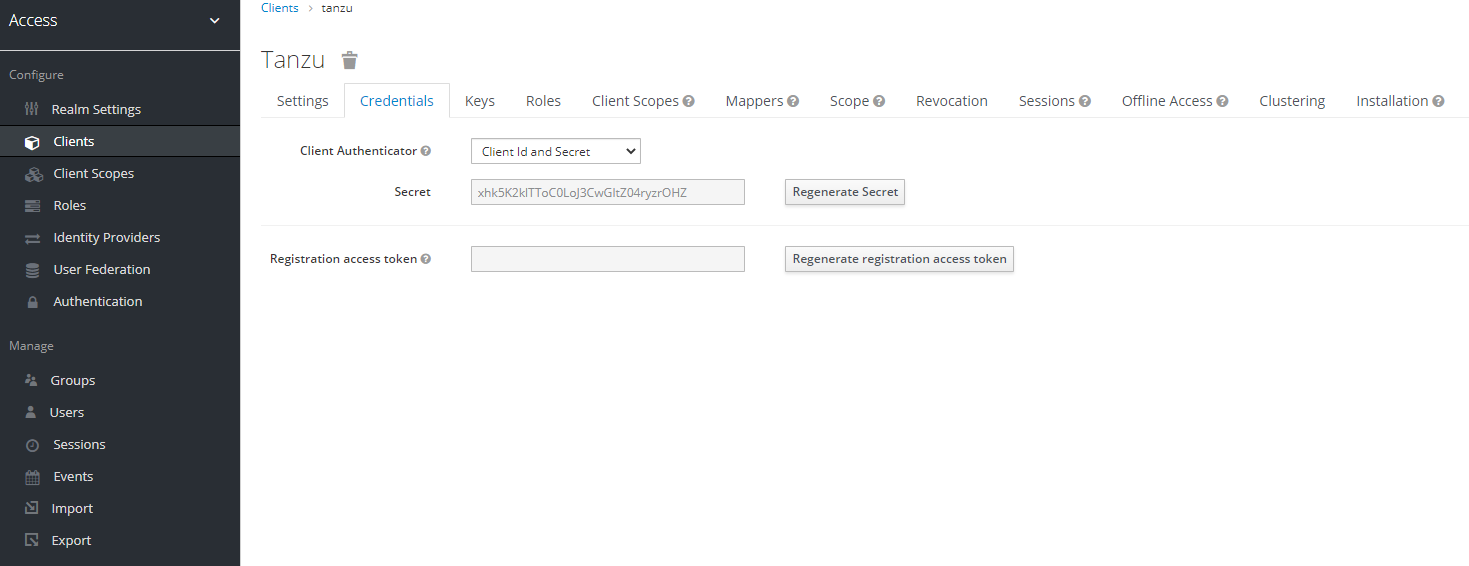
Clients 생성
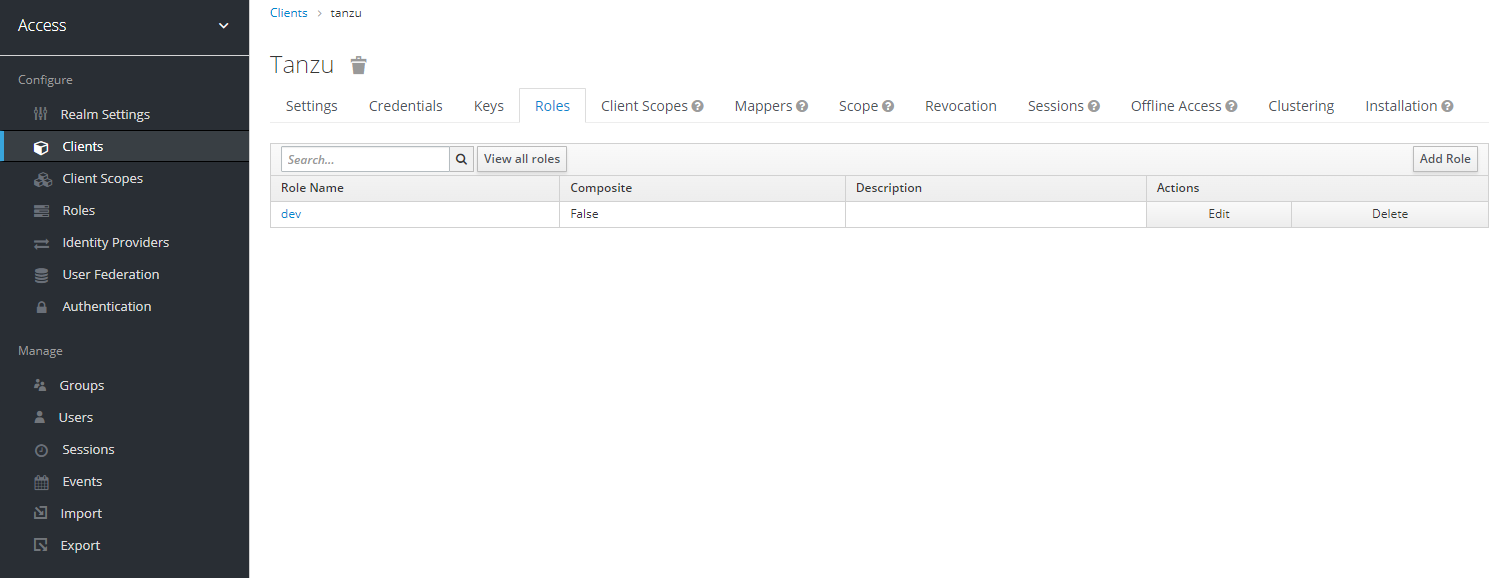
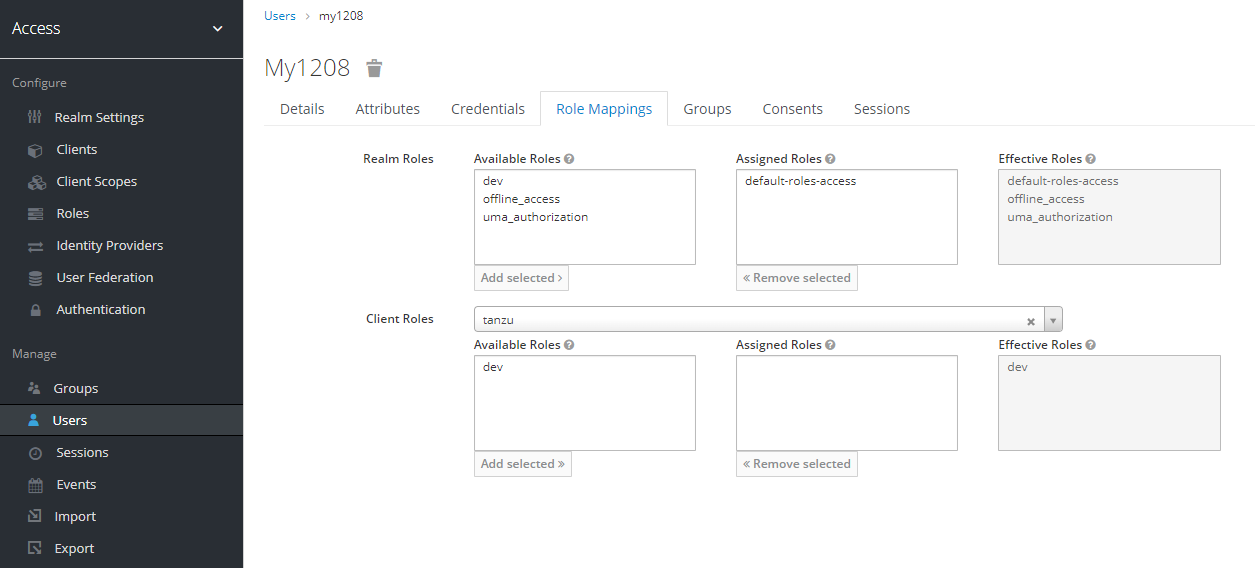
Role
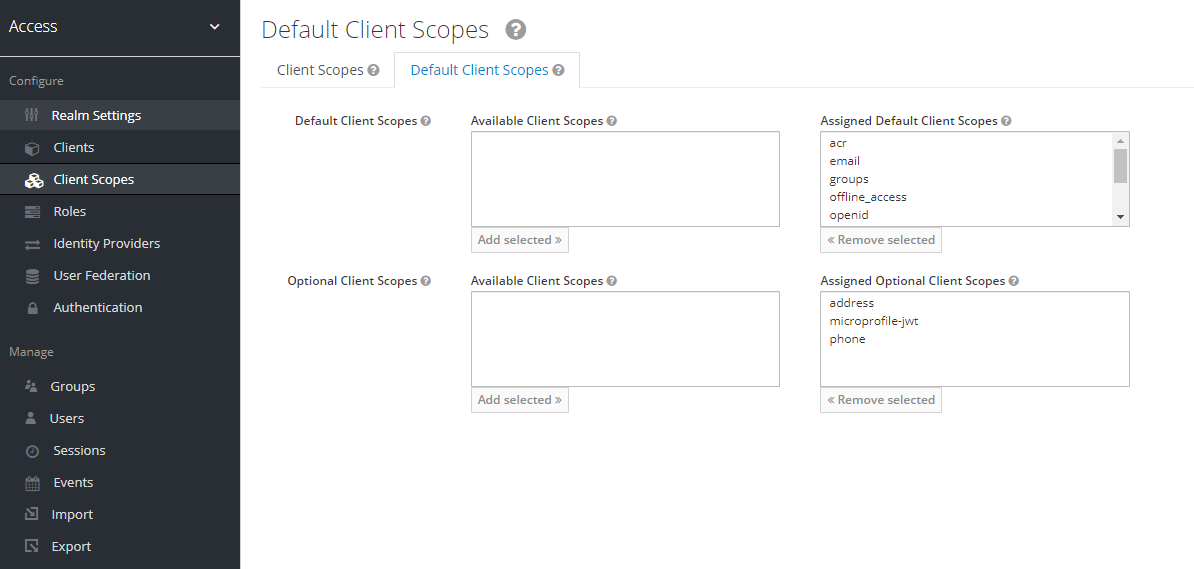
생성한 Client Scopes를 Default Client Scopes에 이동
Scopes 선택
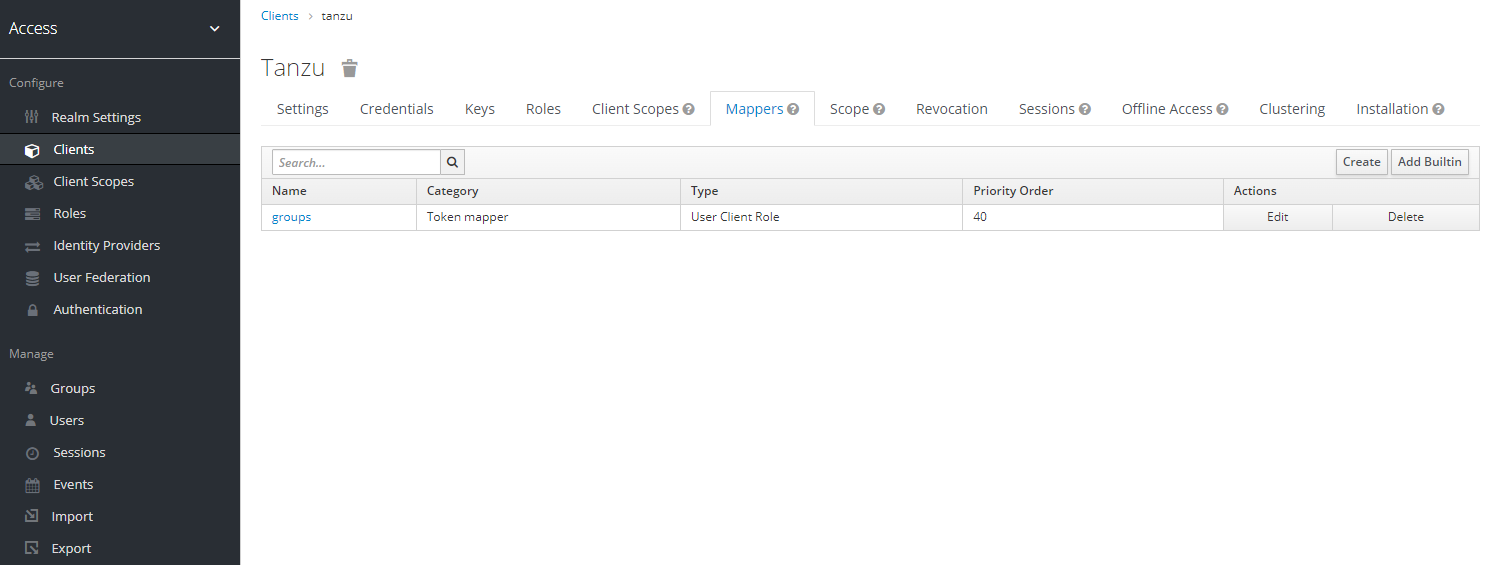
Groups 설정
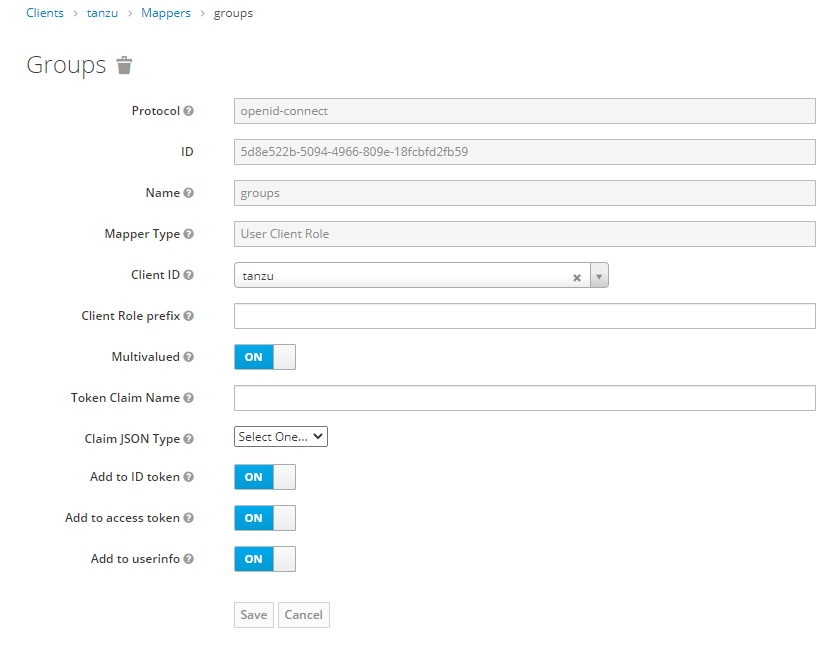
Groups 설정
Roles

Roles 설정
Groups
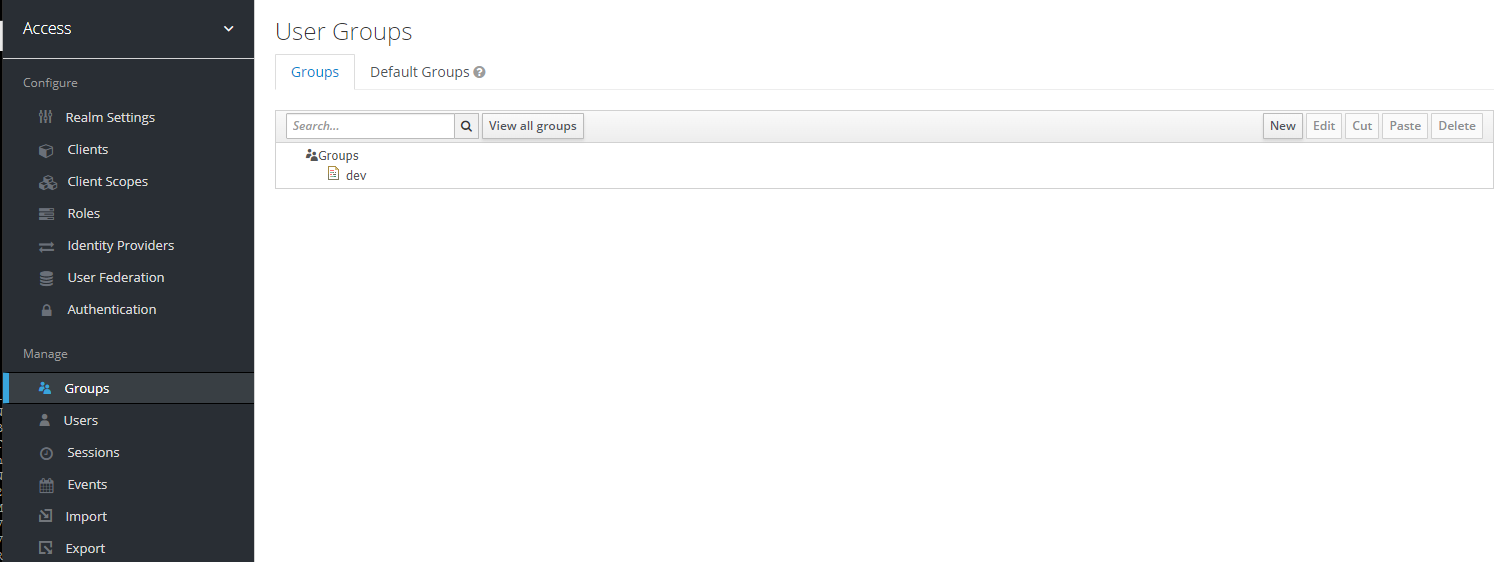
Groups 설정

Groups 설정
Users
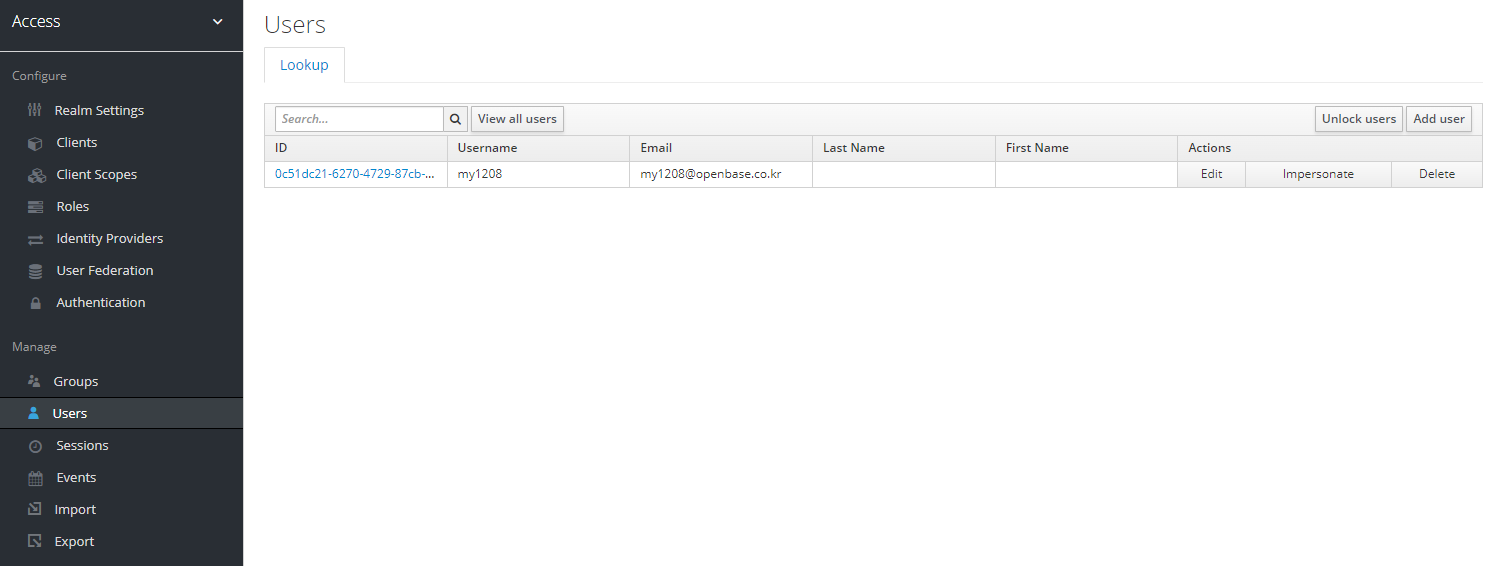
Users 생성
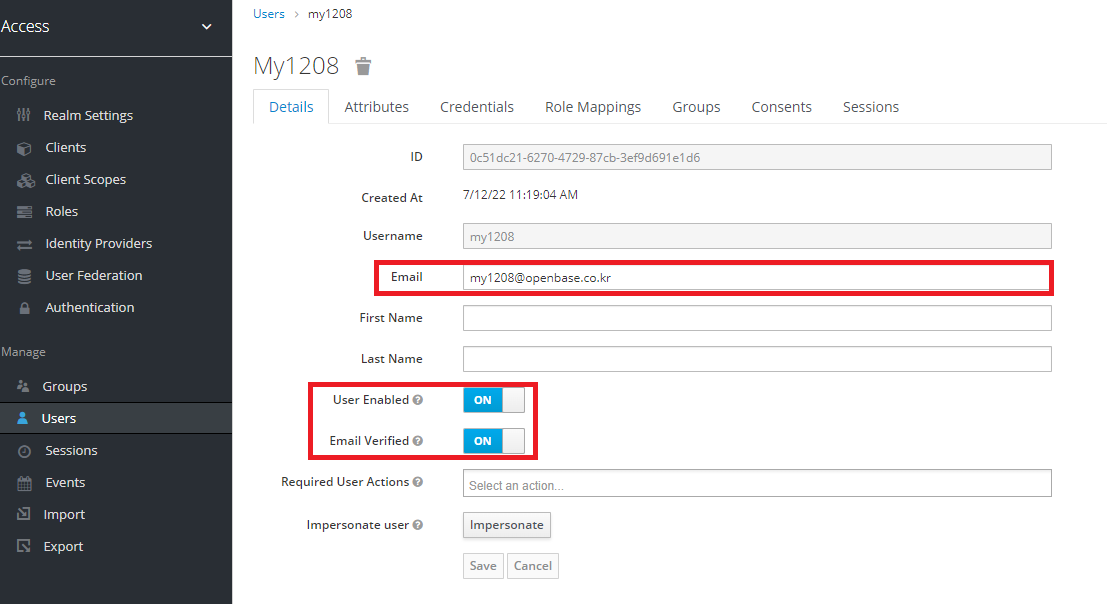
Users 생성
User Password 설정
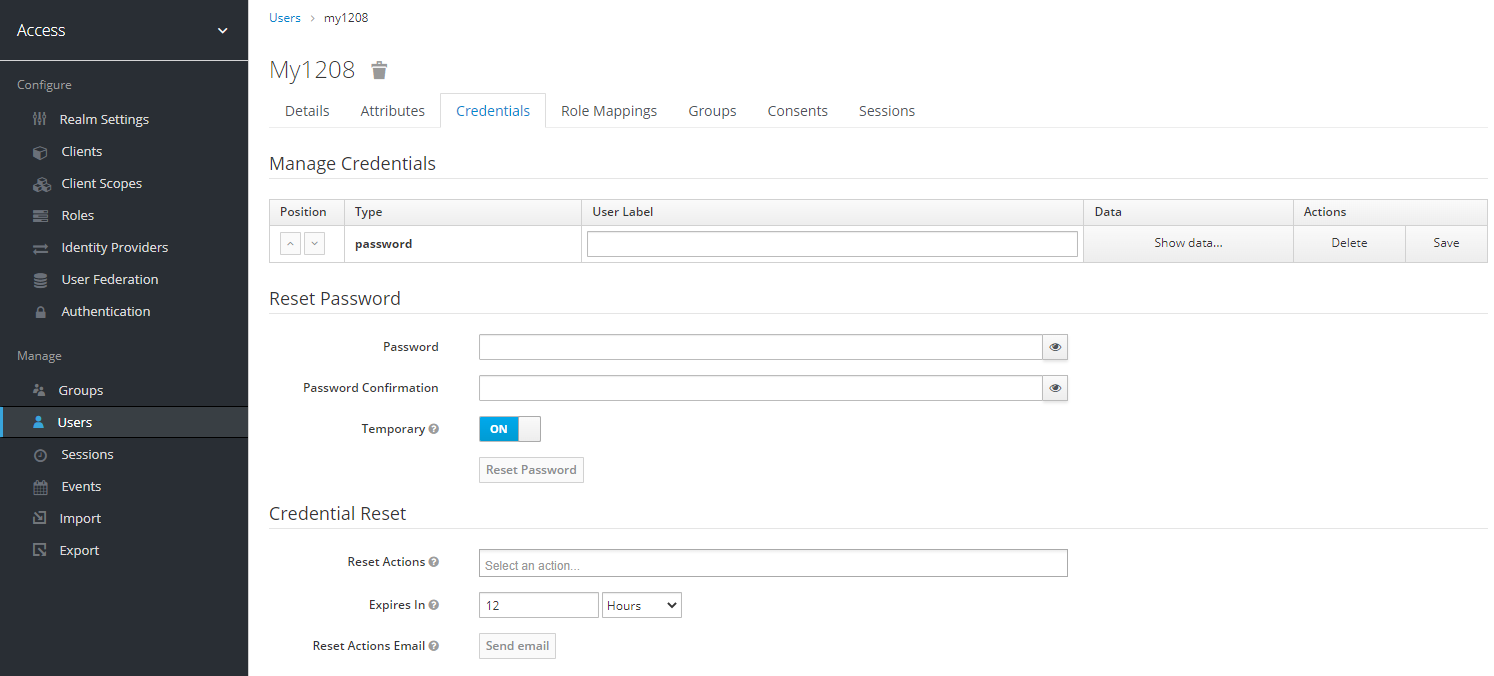
User Password 설정
User Password 설정
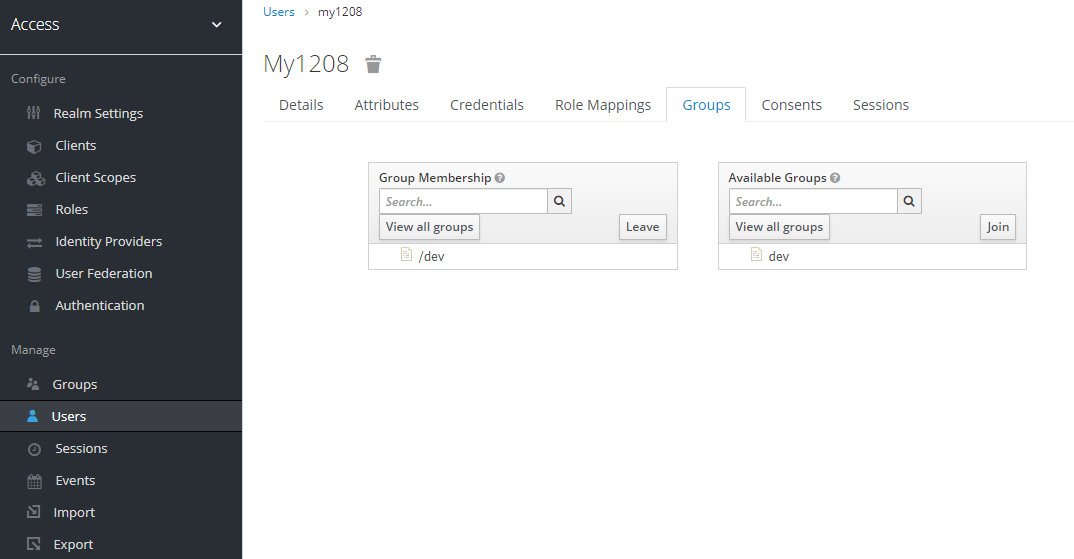
Group에 할당
3. TANZU 구성
사설 인증서로 구성을 했기 때문에 당연히 worker Node에도 신뢰된 인증서로 들어가 있어야 하며, 처음 구성시 CA를 넣는 부분이 없기 때문에 배포가 완료 후 CA를 넣어야 함
OIDC 추출
1
2
3
4
5
6
7
8
9
|
## management cluster 변경
cluster=tkgm02

echo $IDENTITY_MANAGEMENT_TYPE
export _TKG_CLUSTER_FORCE_ROLE="management"
export FILTER_BY_ADDON_TYPE="authentication/pinniped"

tanzu cluster create $cluster --dry-run -f tkgm01.yaml > $cluster-example-secret.yaml
|
위와 같이 하면 아래와 같은 파일을 확인 할 수 있다.
 1
 2
 3
 4
 5
 6
 7
 8
 9
10
11
12
13
14
15
16
17
18
19
20
21
22
23
24
25
26
27
28
29
30
31
32
33
34
35
36
37
38
39
40
41
42
43
44
45
46
47
48
49
|
apiVersion: v1
kind: Secret
metadata:
  annotations:
    tkg.tanzu.vmware.com/addon-type: authentication/pinniped
  labels:
    clusterctl.cluster.x-k8s.io/move: ""
    tkg.tanzu.vmware.com/addon-name: pinniped
    tkg.tanzu.vmware.com/cluster-name: tkgm02
  name: cjenm-tkgm02-pinniped-addon
  namespace: tkg-system
stringData:
  values.yaml: |
    #@data/values
    #@overlay/match-child-defaults missing_ok=True
    ---
    infrastructure_provider: vsphere
    tkg_cluster_role: management
    custom_cluster_issuer: ""
    custom_tls_secret: ""
    http_proxy: ""
    https_proxy: ""
    no_proxy: ""
    identity_management_type: oidc
    pinniped:
      cert_duration: 2160h
      cert_renew_before: 360h
      supervisor_svc_endpoint: https://0.0.0.0:31234
      supervisor_ca_bundle_data: ca_bundle_data_of_supervisor_svc
      supervisor_svc_external_ip: 0.0.0.0
      supervisor_svc_external_dns: null
      upstream_oidc_client_id: {CLIENT ID}
      upstream_oidc_client_secret: {CLIENT SECRET}
      upstream_oidc_issuer_url: https://{KEYCLAOK FQDN}:8443/realms/access
      upstream_oidc_tls_ca_data: {base64로 CA인증서}
      upstream_oidc_additional_scopes:
      - openid
      - profile
      - email
      - groups
      - offline_access
      upstream_oidc_claims:
        username: email
        groups: groups
      supervisor:
        service:
          name: pinniped-supervisor
          type: LoadBalancer
type: tkg.tanzu.vmware.com/addon
|
실행
1
|
kubectl apply -f $cluster-example-secret.yaml -n tkg-system
|
- 완료 후 테스트
1
2
3
|
tanzu mc kubeconfig get --export-file=tanzu-cli-tkgm02

kubectl get pod -A --kubeconfig tanzu-cli-tkgm02
|

요청
생성한 계정으로 로그인
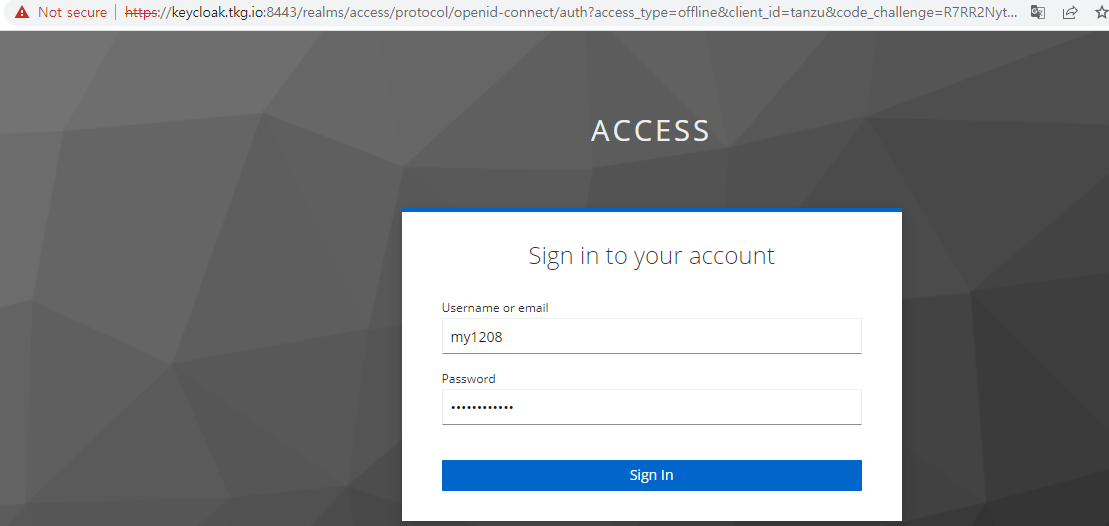
LOGIN
TOKEN을 얻을 수 있다.
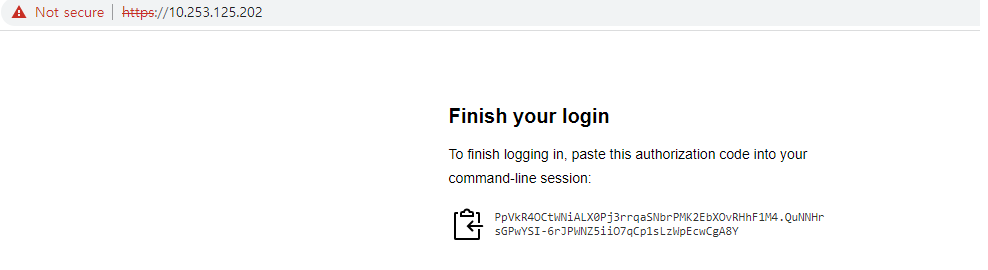
TOKEN 얻기
TOKEN을 붙여 넣으면 아래와 같이 요청이 되는 것을 확인 할 수 있다.
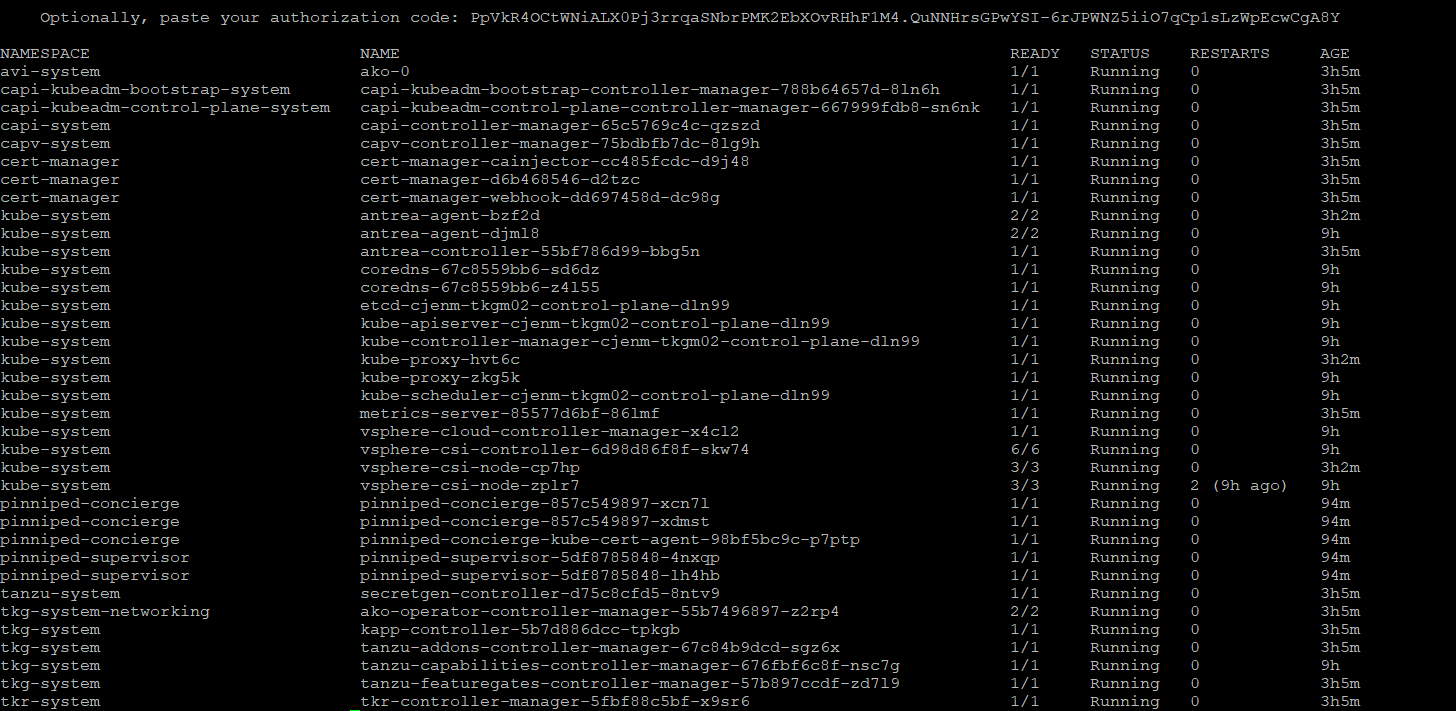
kubectl 요청
만약 권한이 없다면 아래 처럼 권한이 없다고 나온다.

kubectl 요청